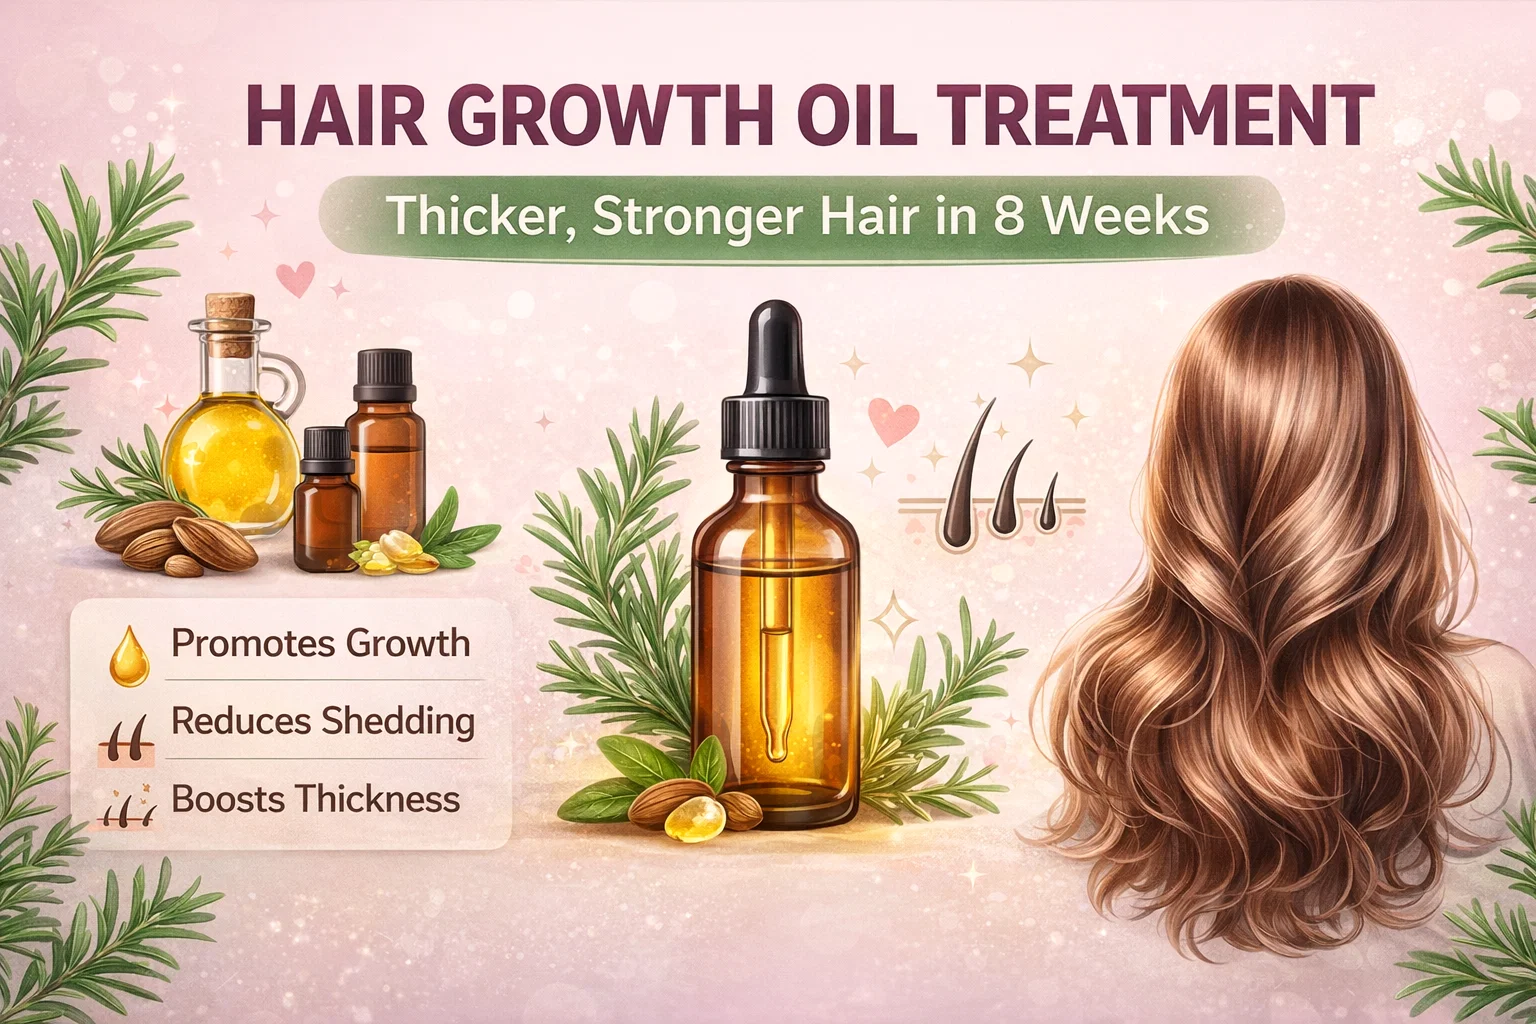
DIY Hair Growth Oil Recipe Rosemary Castor Oil for Thicker Hair in 8 Weeks
Dreaming of flowing, voluminous locks is one thing, but actually achieving them can often feel like an uphill battle against genetics, stress, and environmental damage. We have all been there, standing in the beauty aisle staring at dozens of expensive serums with chemical-heavy ingredient lists that promise the world but often deliver very little. However, the secret to a thriving mane might not be found in a lab, but rather in a simple, potent blend of botanical oils. If you are tired of seeing more hair in your brush than on your head, it is time to turn to a science-backed, DIY approach that focuses on scalp health and follicle stimulation.
The Science of Scalp Care: Why DIY Beats Store-Bought
Most commercial hair growth products rely on high concentrations of alcohol or synthetic fragrances that can actually irritate the scalp and strip it of necessary moisture. When the scalp is dry or inflamed, hair growth slows down significantly. By creating your own growth oil at home, you have 100 percent control over the quality of the ingredients. You can ensure that you are using cold-pressed, organic oils that retain their nutrient density, providing your follicles with the vitamins and fatty acids they need to produce stronger, thicker strands.
The beauty of a DIY hair oil lies in its simplicity and its efficacy. By targeting the root of the problem, literally, you are encouraging the hair to enter the anagen (growth) phase and stay there longer. This particular blend focusing on castor, rosemary, and jojoba oils is designed to mimic the body’s natural processes while giving the scalp a much-needed boost in circulation.
The Powerhouse Ingredients for Rapid Growth
To understand why this specific treatment works so well, we have to look at the individual components. Each oil in this recipe serves a specific biological purpose, working in harmony to transform your hair from the inside out.
Castor Oil: The Foundation of Thickness
Castor oil is a thick, viscous liquid that has been used for centuries as a traditional remedy for thinning hair. It is incredibly rich in ricinoleic acid, a type of fatty acid that has been shown to fight inflammation and increase circulation to the scalp. When blood flow is increased, more oxygen and nutrients reach the hair follicles. Furthermore, castor oil acts as a humectant, locking in moisture and coating the hair shaft to make it appear instantly thicker and more resilient against breakage.
Rosemary Essential Oil: The Natural Minoxidil
If there is one “magic” ingredient in the world of natural hair care, it is rosemary essential oil. Scientific studies have compared rosemary oil to minoxidil, a popular over-the-counter hair growth medication. The results showed that rosemary oil was just as effective at promoting hair growth over a six-month period but with significantly less scalp itching and irritation. It works by stimulating cell turnover and improving nerve growth, which “wakes up” dormant follicles and encourages them to start producing hair again.
Jojoba Oil: The Sebum Mimic
While castor oil is heavy, jojoba oil is light and easily absorbed. Interestingly, the molecular structure of jojoba oil is nearly identical to sebum, the natural oil produced by our skin. This makes it the perfect carrier oil. It helps dissolve the buildup of hardened sebum that can clog pores and stifle hair growth. By keeping the scalp clear and balanced, jojoba ensures that the other treatment oils can penetrate deeply into the skin rather than just sitting on the surface.
How to Make Your Growth Oil Treatment
Creating this treatment at home is straightforward and takes less than five minutes. Because essential oils are light-sensitive, it is vital to use a dark glass dropper bottle, such as amber or cobalt blue. This prevents the rosemary oil from oxidizing and losing its potency over time.
The Recipe:
- 2 tablespoons of Castor Oil: This provides the nutrient-rich base.
- 1 tablespoon of Jojoba Oil: This acts as the carrier to improve absorption.
- 1 tablespoon of Rosemary Essential Oil: This is the active stimulant for the follicles.
Simply pour all three ingredients into your dark glass bottle. Secure the lid tightly and shake well for about thirty seconds to ensure the oils are fully combined. This recipe makes enough for approximately four to six treatments, depending on the thickness of your hair and the size of your scalp. Store it in a cool, dark place and try to use the batch within six months for maximum freshness.
Step-by-Step Application for Maximum Results
How you apply the oil is just as important as what is in the bottle. Consistency is key, and following a specific routine will ensure that your scalp gets the full benefit of every drop.
1. Section Your Hair: Start with dry hair. Use a comb or your fingers to create sections, exposing the scalp. This makes it much easier to apply the oil directly to the skin rather than just getting it on your hair strands.
2. Apply to the Scalp: Using the dropper, apply a few drops along each section line. Focus on areas where you notice thinning, such as the hairline or the crown of the head.
3. The 5-Minute Massage: This is the most crucial step. Use the pads of your fingers to massage the oil into your scalp using circular motions. This physical stimulation further increases blood flow and helps the oil penetrate the follicles. It is also a wonderful way to de-stress, which in itself can help reduce hair loss caused by tension.
4. Let it Sit: For a quick treatment, leave the oil on for at least 30 minutes. For a deep-conditioning treatment, leave it on overnight. If you choose the overnight route, wear a shower cap or wrap your hair in a silk scarf to protect your pillowcases from the oil.
5. Wash Thoroughly: Because castor oil is quite thick, you may need to shampoo twice to fully remove the residue. Use a gentle, sulfate-free shampoo to maintain the progress you have made with the treatment.
What to Expect: The 12-Week Timeline
Hair growth is not an overnight process. It takes time for the follicles to react to the nutrients and for new strands to reach the surface of the skin. Patience is your best friend during this journey. Here is a general timeline of what you can expect when using this oil once a week.
Week 4: Reduced Shedding
The first thing most people notice is a significant decrease in the amount of hair they lose in the shower or during brushing. The oils strengthen the hair at the root, helping it stay anchored for longer. Your scalp will also feel more hydrated and less itchy.
Week 8: New Baby Hairs
Around the two-month mark, you should start seeing “peach fuzz” or short, fine baby hairs along your hairline. This is a sign that the rosemary oil has successfully stimulated dormant follicles back into the growth phase.
Week 12: Noticeable Thickness
By the three-month mark, those baby hairs will have grown longer and thicker. Your overall ponytail might feel slightly heavier, and your hair will have a natural, healthy shine that comes from within. The texture of your hair will feel stronger and less prone to snapping.
Common Mistakes to Avoid
While this DIY treatment is safe for most people, there are a few pitfalls to watch out for. First, never apply undiluted rosemary essential oil directly to your scalp. Essential oils are extremely concentrated and can cause chemical burns or severe irritation if not properly diluted in carrier oils like jojoba or castor. Always stick to the ratios provided in the recipe.
Second, do not over-apply. You do not need your hair to be dripping with oil for it to work. A light, even coating on the scalp is all that is required. Using too much oil can lead to clogged pores or make it very difficult to wash out, leading to greasy-looking hair the next day.
Finally, do not skip the massage. Many people apply the oil and immediately tie their hair up. Without the mechanical stimulation of a massage, you are missing out on half of the benefits. The heat generated by your fingertips helps the oils move and absorb more effectively.
Complementing Your Oil Treatment with Lifestyle Habits
To get the absolute best results from your DIY growth oil, you should look at your hair health holistically. What you put in your body is just as important as what you put on your scalp. Ensure you are eating a diet rich in biotin, zinc, and protein. Foods like eggs, spinach, fatty fish, and nuts provide the building blocks for keratin, the protein that makes up your hair.
Hydration also plays a massive role. If your body is dehydrated, your hair will be the first place to show it, becoming brittle and dull. Drink plenty of water and try to limit the use of high-heat styling tools like flat irons and blow dryers while you are on your 12-week growth journey. Protecting your new growth from heat damage will ensure it reaches its full potential.
The Road to Healthy Hair Starts Today
Switching to a natural, DIY hair growth oil is one of the kindest things you can do for your scalp. It is an affordable, effective, and therapeutic way to take charge of your beauty routine. By combining the legendary thickness of castor oil, the scientifically proven stimulation of rosemary, and the balancing properties of jojoba, you are giving your hair the best possible environment to flourish. Remember that results take time, so stay consistent and enjoy the process of self-care. Before you know it, you will be looking in the mirror at the thick, strong hair you have always wanted. Would you like me to create a printable recipe card or a shopping list for these ingredients?