DIY Walnut Ink Tutorial How to Make Natural Dye from Discarded Nut Husks
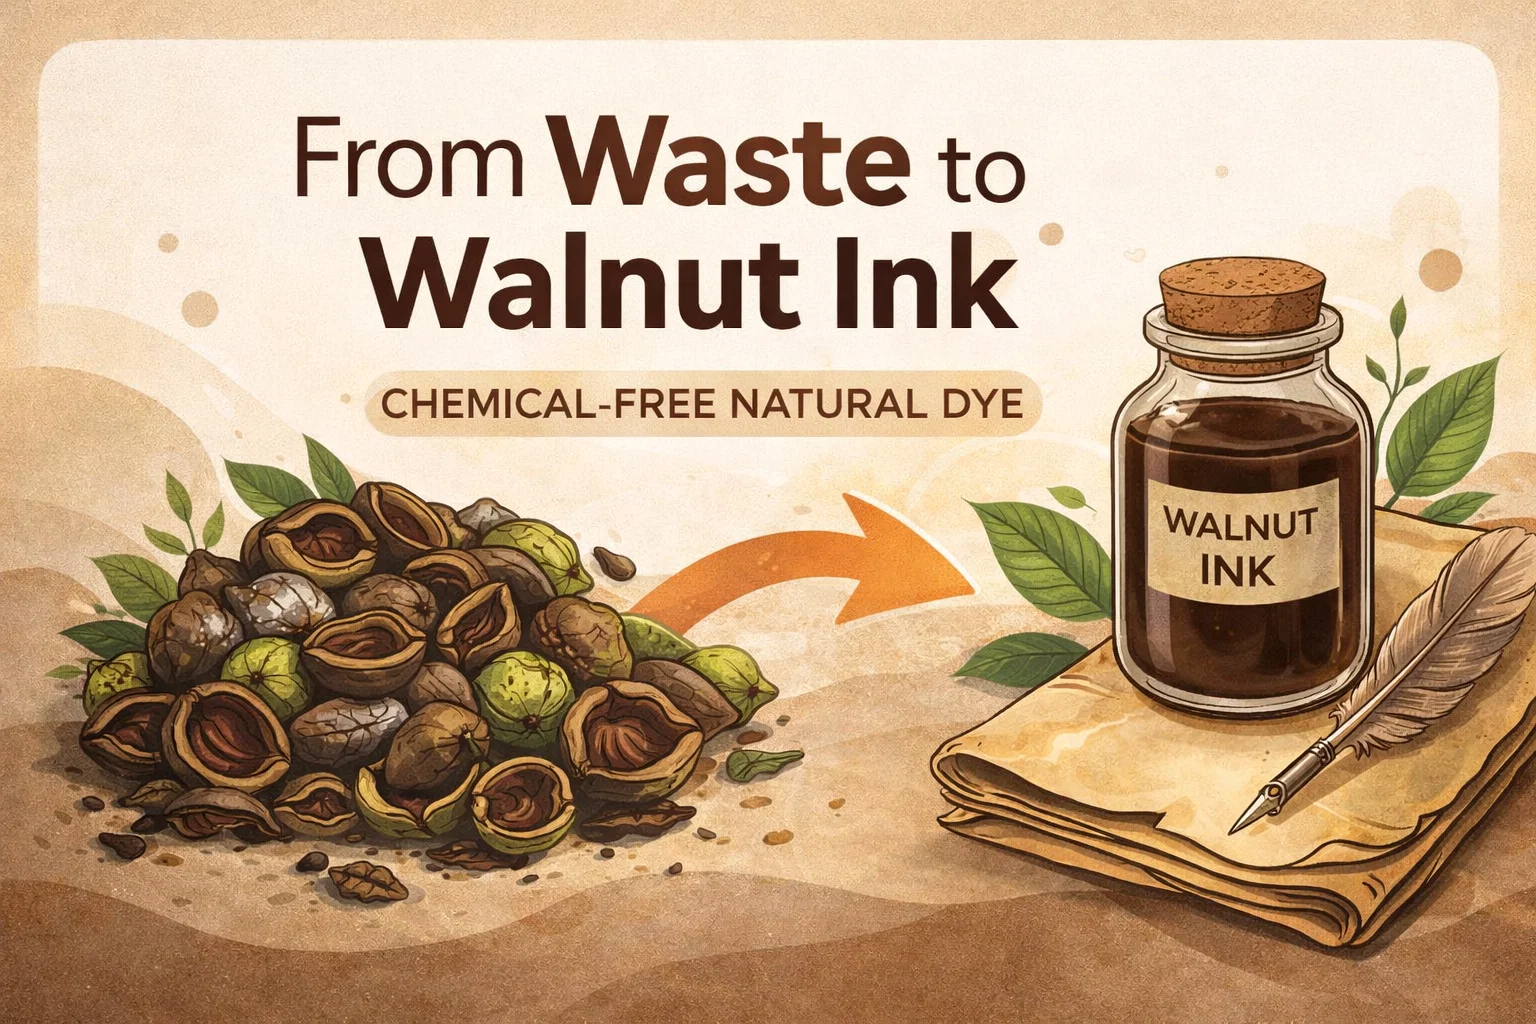
Have you ever walked down a driveway in late autumn, dodging those heavy, green-to-yellow husks falling from the trees, only to think of them as a messy nuisance? Most homeowners see the fallen fruit of the black walnut tree as literal trash. They rake them into piles, bag them up, and send them to the landfill. But for artists, historians, and sustainability enthusiasts, those staining husks are actually a goldmine of natural pigment. The image of those discarded nut husks next to a bottle of deep, permanent ink perfectly captures the essence of the “trash to treasure” philosophy. Today, we are diving deep into the world of pioneer chemistry to show you how to turn garden waste into a professional-grade writing and drawing medium.
The Hidden Chemistry of the Black Walnut
To understand why walnut ink is so prized, we have to look at the science of the tree itself. The black walnut (Juglans nigra) produces a specific organic compound called juglone. This chemical acts as a natural defense mechanism for the tree, inhibiting the growth of other plants nearby. While it might be a headache for your garden tomatoes, juglone is a dream for ink makers. It is a potent, dark brown dye that binds exceptionally well to organic fibers like paper, parchment, wood, and wool.
Unlike many other natural dyes that require a mordant (a chemical fixative like alum or iron) to stay permanent, walnut ink is naturally substantive. This means the pigment molecules have a high affinity for the material they are applied to, resulting in a finish that is lightfast and remarkably resistant to fading over centuries. When you use walnut ink, you are literally using the same technology that Leonardo da Vinci and Rembrandt used to create their timeless sketches.
Why Choose Natural Ink Over Synthetic Alternatives?
In an era of mass-produced plastic pens and petroleum-based inks, the move back to natural pigments is more than just a hobby; it is a statement of sustainability. Commercial inks often contain heavy metals and volatile organic compounds (VOCs) that can be harmful to both the artist and the environment. Walnut ink, on the other hand, is entirely biodegradable and non-toxic.
The Aesthetic Appeal of Sepia
Beyond the environmental benefits, there is a distinct visual quality to walnut ink that modern printers simply cannot replicate. It offers a warm, earthy sepia tone that feels alive on the page. Because it is a suspension of organic matter, the ink can be diluted to create a wide range of values, from a faint, ghostly tan to a deep, velvety chocolate brown that looks almost black in heavy applications. This versatility makes it the premier choice for calligraphers who want their work to have a “pioneer” or “old world” soul.
How to Source Your Materials
The best part about this project is that the primary ingredient is free. If you live in a region where black walnuts grow, you likely have neighbors who would be thrilled to have you “clean up” their yard. You are looking for the outer green husks. As these husks sit on the ground, they begin to oxidize and turn black. This is actually a good thing! The darker and “rotter” the husk looks, the more concentrated the pigment will be. Even the moldy ones shown in the “trash” side of our reference image are perfect for the pot.
- Safety First: Always wear waterproof gloves when handling walnut husks. The dye is incredibly effective at staining skin, and it will take weeks to wear off your cuticles.
- Collection: Use a bucket to gather the husks. If the nuts are still inside, you can stomp on them or use a hammer to peel the husk away, though many foragers wait until the husk is soft and mushy for easier processing.
- Water Quality: Use distilled water or rainwater if possible. The minerals in hard tap water can sometimes react with the juglone and shift the color toward a cooler, grayish tone.
The Step-by-Step Process of Making Permanent Dye
Making the ink is a slow, rewarding process that fills your kitchen with a rich, earthy aroma. It is part cooking and part chemistry experiment. Here is the standard “slow-simmer” method used by modern homesteaders to extract the maximum amount of color.
1. The Soaking Phase
Place your collected husks into a large stainless steel or enamel pot. Avoid using aluminum, as it can react with the dye and alter the color. Cover the husks with just enough water to submerge them. Let them soak for at least 24 hours. This initial soak begins to break down the cellular structure of the husk, releasing the tannins and juglone into the liquid.
2. The Simmer
Bring the pot to a very low simmer. You do not want a rolling boil, which can sometimes “dull” the brilliance of natural dyes. Simmer the husks for several hours. As the water evaporates, the liquid will turn from a murky tea color to a dark, opaque ink. Keep an eye on the level; you want to reduce the liquid until it is highly concentrated.
3. Straining and Refining
Once the liquid is dark enough, let it cool. Strain the mixture through a fine-mesh sieve to remove the large chunks of husk. For the second pass, use a piece of cheesecloth or an old t-shirt to remove the smaller particles. If you want a professional-grade ink for fountain pens or fine nibs, you may even want to strain it a third time through a coffee filter. This ensures there is no grit that could clog your tools.
Preserving Your Ink for the Long Term
Because walnut ink is an organic product, it can technically grow mold if left in a warm, moist environment. To ensure your ink lasts for years (just like the “Permanent” bottle in our image), you need to add a preservative. Historically, pioneers used a few drops of alcohol or even a pinch of salt. Today, most artists use one of the following:
- Wintergreen Oil: Just a drop or two acts as a natural antifungal and makes your ink smell wonderful.
- Clove Oil: Highly effective at preventing mold and adds a spicy, vintage scent to your writing desk.
- Gum Arabic: While not a preservative, adding a small amount of gum arabic (sap from the acacia tree) gives the ink a better “body” and a slight sheen, helping it sit on top of the paper rather than soaking in too deeply.
Applications: Beyond the Writing Desk
While the image highlights “Walnut Ink” for use with a quill, the applications for this dye are nearly endless. Once you have a large batch of concentrated walnut liquor, you can move beyond the page.
Textile Dyeing
Walnut husks are a favorite among natural dyers for protein fibers like silk and wool. You can achieve everything from a soft “latte” color to a deep “espresso” brown. Because it is a substantive dye, you can simply simmer your fabric in the dye bath, and the color will hold fast through many washes.
Wood Staining
If you are a woodworker, walnut ink is a fantastic, non-toxic alternative to commercial wood stains. It provides a rich, transparent color that highlights the natural grain of the wood. It works exceptionally well on lighter woods like pine or maple to give them an aged, reclaimed look without the harsh smell of chemical solvents.
The Artist’s Connection to Nature
There is something deeply meditative about using a tool that you foraged and created yourself. When you sit down with a piece of parchment and a jar of homemade walnut ink, you are participating in a tradition that spans millennia. You aren’t just making a mark on paper; you are using the literal essence of the earth to communicate your thoughts. This process encourages us to slow down and look at the “trash” under our feet with new eyes.
Every batch of ink is slightly different. One year’s harvest might yield a warmer, redder brown, while another might be cool and dark. These subtle variations are what make handmade art so special. They tell a story of a specific time and place, a specific tree, and a specific afternoon spent with a rake and a bucket.
Final Thoughts: Embracing the Permanent
The next time you see those messy nut husks on the sidewalk, don’t reach for the rake immediately. Think of the beautiful, permanent ink hiding inside those ugly, blackened shells. By taking the time to process what others call waste, you are practicing a form of modern alchemy. You are turning the discarded into the indelible.
Whether you are a seasoned artist looking for a new medium or a beginner curious about natural crafts, making walnut ink is a low-cost, high-reward project. It connects you to the seasons, reduces your environmental footprint, and provides you with a supply of ink that will literally last a lifetime. So, go out there, grab some gloves, and start foraging. Your next masterpiece is waiting in the gutter.
Do you have a favorite natural dye or a “trash to treasure” project you love? Share your experiences in the comments below, and don’t forget to save this guide for your next autumn harvest!