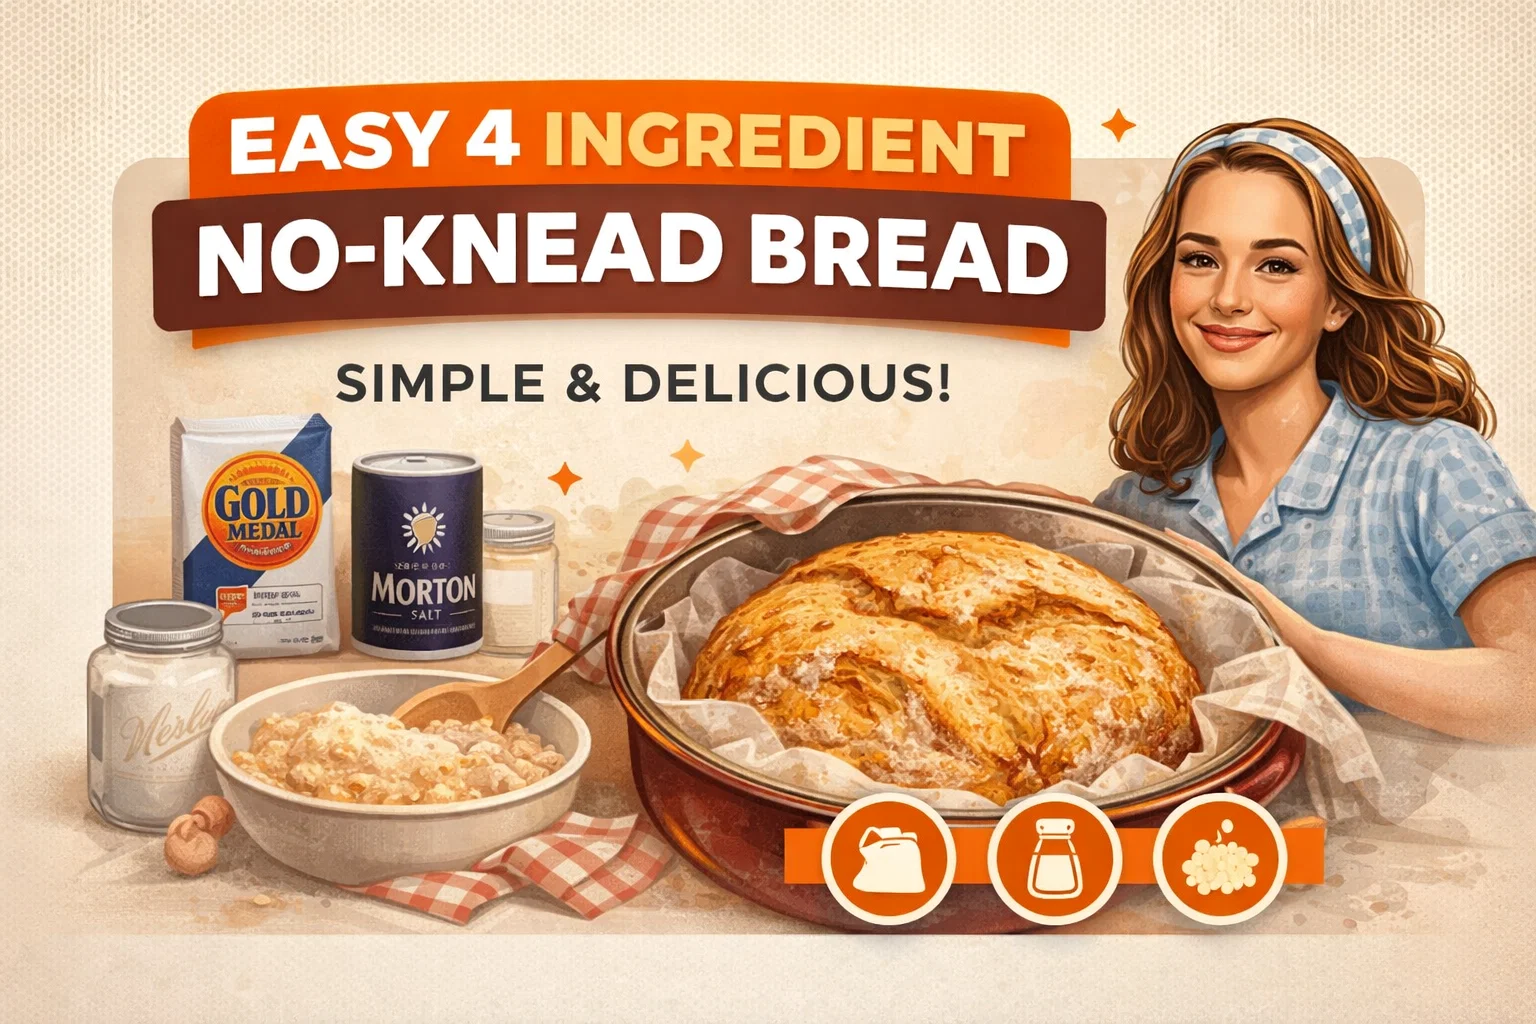
Easy 4-Ingredient No-Knead Artisan Bread Recipe Easiest Bread Ever
Have you ever dreamed of pulling a gorgeous, bakery-quality loaf of artisan bread straight from your own oven, only to be discouraged by the thought of endlessly kneading sticky dough? You are definitely not alone. Many home cooks feel intimidated by traditional bread baking, believing it requires special skills, expensive equipment, or hours of exhausting physical labor. But what if you learned that the tastiest loaf of your life requires only four basic pantry staples and absolutely zero kneading? This incredible no-knead, slow-rise bread recipe is about to change everything you thought you knew about baking from scratch.
Whether you are a complete beginner or a busy professional looking for a relaxing weekend project, this method delivers extraordinary results with astonishingly little effort. If you value smart time management, this recipe is perfect for you. By trading active manual labor for passive resting time, you allow the natural magic of yeast and hydration to do all the heavy lifting. Let us dive into the wonderful world of easy artisan bread and discover how you can create a culinary masterpiece in your very own kitchen.
The Magic and Science Behind No-Knead Bread
To understand why this incredibly simple recipe is so revolutionary, it is helpful to explore a little bit of baking science. In traditional bread making, kneading is the mechanical process used to develop the gluten network. Gluten is the complex protein structure that gives bread its pleasant, chewy texture. It also acts like a balloon, trapping the carbon dioxide gases produced by the yeast, which is exactly what makes the dough rise beautifully. Normally, you have to push, fold, and stretch the dough by hand for ten to fifteen minutes to build this strong structure.
However, the no-knead method relies on a completely different phenomenon to develop that crucial gluten network. It uses a combination of time and high hydration. When you mix flour with a relatively high proportion of water and let it sit undisturbed for a prolonged period, the natural enzymes in the flour begin to slowly break down the proteins, forming those essential gluten bonds entirely on their own. This slow fermentation process not only creates a magnificent, airy texture but also develops a rich, complex depth of flavor that quick-rise supermarket breads simply cannot replicate.
The Core Four Ingredients You Need
One of the most appealing aspects of this artisan bread is the incredibly short ingredient list. You likely already have everything you need sitting in your pantry right now. Let us break down the four essential components and explore why each one plays a critical role in the final outcome.
1. All-Purpose Flour (3 Cups)
While many artisan bread recipes call for specialty bread flour, this recipe is formulated to work perfectly with standard all-purpose flour. All-purpose flour has a moderate protein content that provides just enough structure for a beautiful rise while keeping the crumb soft and tender. Make sure you measure your flour correctly. The best method is to use a spoon to scoop the flour into your measuring cup and then level it off with a flat edge. Scooping directly from the bag can pack the flour down, leading to a dense and heavy loaf.
2. Warm Water (1.5 Cups)
Water is the activator in this recipe. Hydration is what wakes up the yeast and allows the gluten network to form during the resting phase. The temperature of your water is absolutely critical to your success. You need warm water, ideally between 100 and 110 degrees Fahrenheit (38 to 43 degrees Celsius). It should feel pleasantly warm to the touch, similar to baby bath water. Please remember that hot water can and will kill your yeast, preventing your bread from rising at all. If your water is too cold, the yeast will remain dormant and the fermentation process will take significantly longer.
3. Active Dry Yeast (0.5 Teaspoon)
Yeast is the living organism responsible for making your bread rise. You might be surprised to see that this recipe only calls for one-half of a teaspoon of active dry yeast. Traditional quick breads often use a whole packet (over two teaspoons). Because we are utilizing a long, slow rest period of three to four hours, a very small amount of yeast is all that is required. The yeast has plenty of time to multiply and produce the gas needed for a light, airy loaf. This slow rise is exactly why we do not need to knead the dough.
4. Salt (1 Teaspoon)
Salt is indispensable in bread baking. Not only does it provide essential flavor to what would otherwise be a very bland mixture, but it also regulates the yeast. Salt helps control the rate of fermentation, ensuring the yeast does not consume all the sugars in the flour too quickly. It also strengthens the gluten structure, helping the loaf maintain its beautiful round shape as it bakes.
Step-by-Step Instructions to Artisan Perfection
Now that we have gathered our four simple ingredients, it is time to walk through the easiest baking process you will ever experience. Follow these straightforward steps, and you will be rewarded with a deeply golden, crusty loaf.
Step 1: Mixing the Dough
In a large mixing bowl, combine your three cups of all-purpose flour, one teaspoon of salt, and half a teaspoon of active dry yeast. Give the dry ingredients a quick whisk to ensure the yeast and salt are evenly distributed. Next, pour in your one and a half cups of warm water. Use a sturdy wooden spoon or a silicone spatula to mix everything together. You want to mix just until all the dry flour is absorbed and a shaggy, wet, and sticky dough forms. There is no need to overmix. Once it comes together into a rough ball, your active work is done for the next few hours.
Step 2: The Crucial Resting Phase
Cover your mixing bowl securely with plastic wrap or a damp kitchen towel. Place the bowl in a draft-free, warm spot in your kitchen. Now, you simply let it rest for three to four hours. During this time, the magic happens. The dough will double in size, become bubbly on the surface, and develop a wonderful, slightly sour, yeasty aroma. This long rest is the secret to both the structure and the flavor of your artisan loaf.
Step 3: Gentle Shaping
Once the dough has completed its slow rise, lightly flour a clean work surface. Turn the sticky dough out of the bowl onto the flour. Do not knead the dough. You want to preserve all those beautiful air bubbles that the yeast worked so hard to create. Simply use floured hands to gently fold the edges of the dough into the center, forming a loose, round ball. Be incredibly gentle during this stage.
Step 4: Preparing for the Oven
Place your gently shaped dough onto a large piece of parchment paper. The parchment paper will act as a sling, making it much easier to transfer the soft dough into your hot baking vessel later. Cover the dough loosely with a towel while you wait for your oven to preheat. This gives the dough a brief second proofing, allowing it to relax and puff up just a little bit more before hitting the heat.
Step 5: Preheating for a Crispy Crust
A roaring hot oven is the secret to achieving that bakery-style, crackling crust. Preheat your oven to a blazing 450 degrees Fahrenheit (230 degrees Celsius). For the absolute best results, place your baking vessel inside the oven while it preheats. A heavy cast-iron Dutch oven with a tight-fitting lid is the gold standard for baking artisan bread. The enclosed space traps the steam released by the moist dough during the first few minutes of baking. This steam keeps the crust soft initially, allowing the bread to expand fully before the crust hardens and turns a deep, beautiful brown.
Step 6: The Baking Process
Once your oven and baking vessel are thoroughly preheated, carefully remove the hot pot from the oven using heavy-duty oven mitts. Use the parchment paper sling to lift your dough and gently lower it into the hot vessel. Put the lid securely on the pot and return it to the oven. Bake for about 30 minutes with the lid on. Then, remove the lid and bake for another 10 to 15 minutes. Baking uncovered at the end is what caramelizes the crust, turning it that irresistible, deeply golden color. You will know it is done when it sounds hollow when tapped on the bottom.
Holistic Benefits of Slow-Fermented Bread
Beyond the incredible taste and minimal effort, there are fantastic holistic reasons to choose this slow-rise baking method. Many people find that long-fermented breads are much easier to digest than commercially produced quick breads. The extended resting time allows the natural bacteria and yeast to pre-digest the starches and begin breaking down the gluten proteins before the bread even enters your body. Furthermore, by baking your own bread at home, you have complete control over what goes into your body, avoiding the artificial preservatives, dough conditioners, and hidden sugars commonly found in store-bought options.
Flavor Variations and Add-Ins
Once you have mastered this basic four-ingredient recipe, it serves as the perfect blank canvas for endless culinary creativity. You can easily customize your loaf to pair with different meals or satisfy specific cravings. Here are a few wonderful ideas to elevate your artisan bread.
- Rosemary and Roasted Garlic: Fold in a tablespoon of fresh, chopped rosemary and several cloves of mashed, roasted garlic during the initial mixing phase for a savory, aromatic loaf that pairs beautifully with Italian dishes.
- Cranberry and Walnut: Add a half cup of dried cranberries and a half cup of chopped, toasted walnuts for a slightly sweet and nutty bread that makes the most incredible morning toast.
- Jalapeno and Cheddar: For a spicy, savory kick, gently fold in diced pickled jalapenos and chunks of sharp cheddar cheese just before shaping the dough.
- Everything Bagel Seasoning: Brush the top of your shaped loaf with a tiny bit of water and sprinkle generously with everything bagel seasoning right before baking for a flavorful, crunchy crust.
Frequently Asked Questions About No-Knead Bread
Can I use whole wheat flour instead of all-purpose?
Yes, you can substitute some of the all-purpose flour for whole wheat flour. However, whole wheat flour absorbs more water and produces a denser loaf. A good starting point is to replace one cup of the all-purpose flour with whole wheat flour. You may need to add a splash more warm water to achieve the correct sticky dough consistency.
What if I do not own a Dutch oven?
While a Dutch oven provides the best environment for steam, you can absolutely bake this bread without one. You can place your parchment-lined dough directly on a preheated pizza stone or a heavy-duty baking sheet. To create steam in the oven, place a shallow metal pan on the bottom rack while preheating. Right after you put your bread in the oven, carefully pour a cup of hot water into the shallow pan and quickly shut the oven door to trap the steam.
How should I store my homemade artisan bread?
Because this bread contains no artificial preservatives, it is best enjoyed within the first two days of baking. Keep it stored at room temperature in a paper bag or a breathable bread box to maintain the crust. Storing it in an airtight plastic bag will cause the crust to become soft and rubbery. If you cannot finish the loaf within two days, slice the remaining bread and freeze the slices in a freezer-safe bag. You can toast the frozen slices directly from the freezer whenever you need a quick, delicious addition to a meal.
Final Thoughts on Your Baking Journey
Baking your own artisan bread does not have to be a stressful, labor-intensive chore reserved only for professional bakers. With just flour, water, yeast, salt, and a little bit of patience, you can create a spectacular loaf that will impress your family and friends. This four-ingredient, no-knead recipe truly offers the highest reward for the lowest amount of effort. Gather your supplies, embrace the slow, rewarding process, and get ready to enjoy the tastiest, crustiest loaf of your life right from your very own oven. Happy baking!