Easy Homemade Bread in a Bag Simple 4-Step Recipe for Beginners
There is something undeniably magical about the smell of fresh bread wafting through your kitchen. For many, the idea of baking a loaf from scratch feels like a daunting task reserved for professional bakers or those with hours to spare on a quiet weekend. The intimidation factor is real: the kneading, the precise measurements, and the inevitable disaster of flour covering every square inch of your countertops. But what if you could bypass the mess and the stress entirely? Welcome to the wonderful world of “Bread in a Bag.”
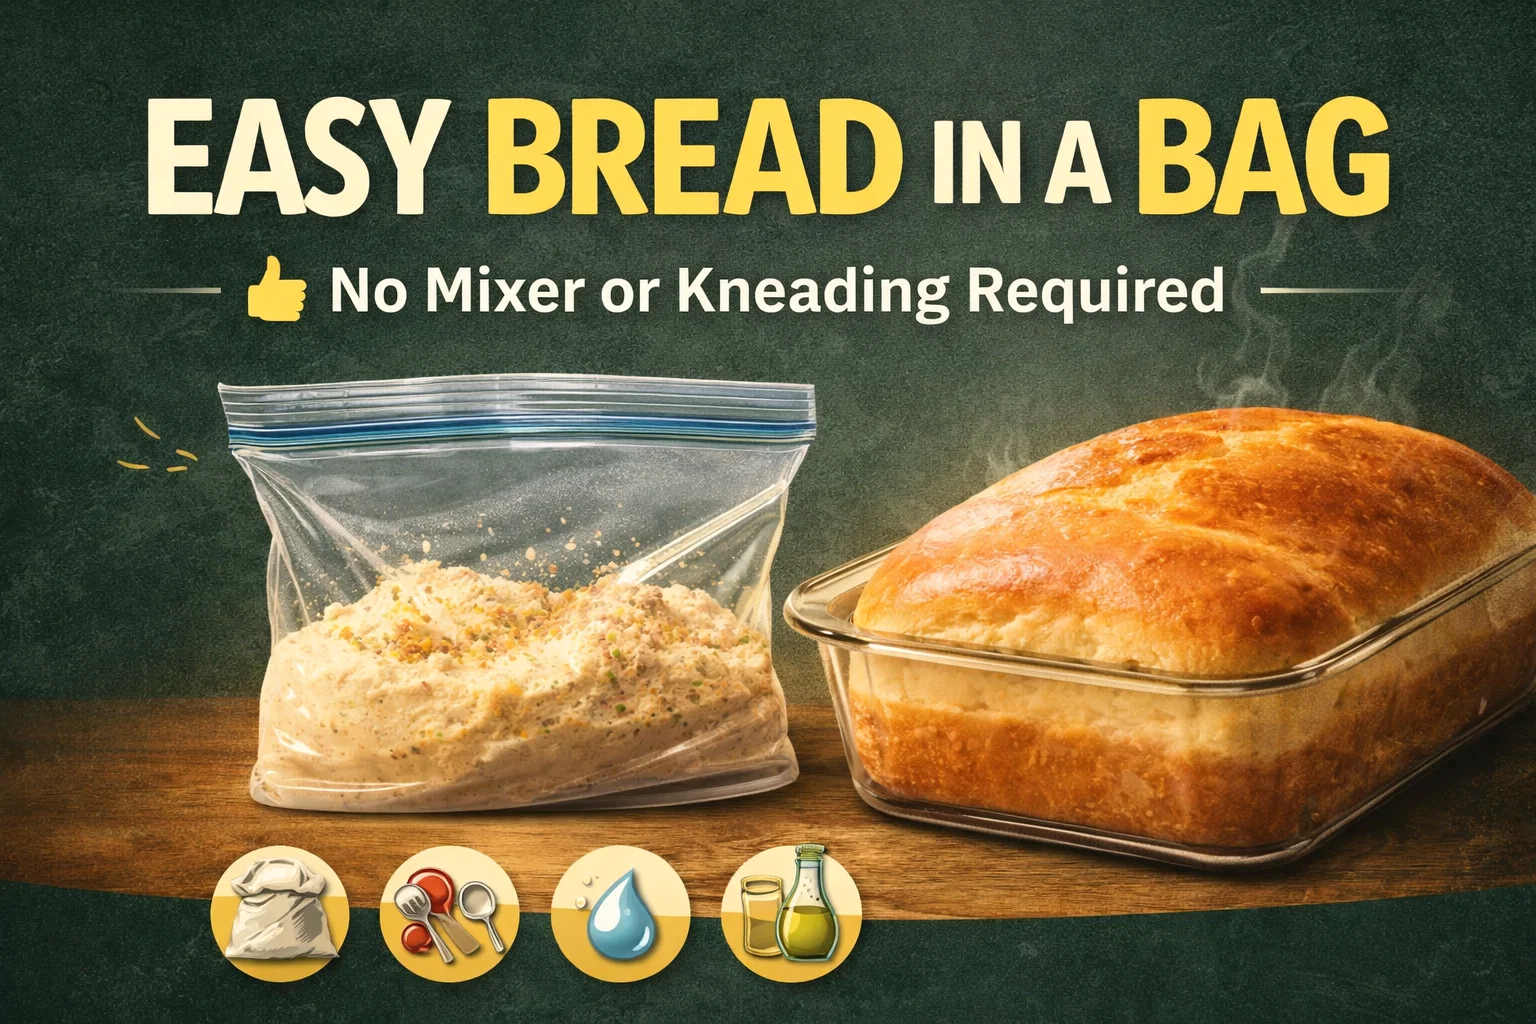
This ingenious technique has been a well-kept secret for busy home cooks who crave the satisfaction of homemade bread without the kitchen cleanup. By leveraging the simplicity of a heavy-duty resealable plastic bag, you can transform simple pantry staples into a golden, crusty loaf. It is a fantastic entry point for beginners and a fun activity to do with children who want to get hands-on in the kitchen without making a massive mess.
Why the Bag Method Works
At its core, this method relies on the same chemical process as traditional artisan baking. You are still feeding yeast, developing gluten, and allowing the dough to rise. The genius here is the containment. Kneading dough is a mechanical process that builds the gluten network necessary for bread to rise and maintain its structure. Typically, this is done by hand on a floured surface, which leads to sticky hands and a dusty kitchen.
When you knead the dough inside a sealed bag, you achieve that same mechanical action without the mess. The plastic acts as a barrier, keeping the sticky, wet ingredients trapped inside while still allowing you to fold and push the dough until it reaches the desired consistency. It effectively turns a messy, multi-step process into a clean and efficient workflow.
The Essential Ingredients
To get started, you only need a handful of items you likely already have in your pantry. The key to success is using high-quality ingredients, specifically the yeast. Since this recipe utilizes rapid-rise yeast, you save significant time compared to traditional recipes that require multiple, lengthy rise sessions.
- All-purpose flour: The foundation of your bread.
- Rapid-rise yeast: Provides the necessary lift quickly.
- Warm water: The fuel that activates the yeast. Aim for 110 degrees Fahrenheit to ensure optimal yeast activity.
- Sugar: Provides a little food for the yeast and helps the bread brown beautifully.
- Olive oil: Adds richness and a subtle depth of flavor to the crumb.
- Salt: Essential for flavor development and controlling the yeast’s activity.
A Step-by-Step Breakdown of the Process
The beauty of this method is its simplicity. By following a structured approach, you can go from raw ingredients to a finished loaf in very little time.
Phase 1: Mixing and Activating
Start by combining one cup of flour, the sugar, the yeast, and your warm water in the bag. Seal it tightly and give it a gentle shake or squish to combine. The “magic” here is the ten-minute wait time. This pause allows the yeast to wake up and start fermenting. You will notice the mixture start to bubble and grow, which is the sign that your bread will turn out fluffy and light.
Phase 2: Developing the Structure
Once the initial mixture is active, add your remaining flour, salt, and olive oil to the bag. Squeeze out as much excess air as you can before sealing it again. Now comes the fun part. Using your hands from the outside of the bag, knead the dough. Fold it, press it, and work it until all the flour is incorporated and you have a smooth, elastic ball of dough inside.
Phase 3: The Final Rise and Bake
After kneading, remove the dough from the bag and give it a brief final knead on a lightly floured surface to shape it. Place it into a greased loaf pan and let it rise until it has doubled in size. This step is crucial for the final texture. Finally, pop it into an oven preheated to 375 degrees Fahrenheit. Within 25 to 30 minutes, you will have a gorgeous, golden-brown loaf ready to cool and slice.
Tips for Bread-Baking Success
While this recipe is foolproof, a few best practices will ensure your results are consistent every time you bake.
- Mind the Temperature: Yeast is a living organism. If your water is too hot, you will kill the yeast. If it is too cold, it will not activate. Always use a thermometer if you are unsure.
- Don’t Rush the Rise: Even though this is a “quick” method, do not cut the rising time short. Rushing this stage will result in a dense, heavy loaf.
- The Bag Matters: Use a high-quality, freezer-grade resealable bag. Thinner storage bags may tear during the kneading process.
Transforming Your Kitchen Habits
The shift from buying bread at the store to baking it at home is more than just a culinary upgrade. It is about taking control of what you eat and connecting with the process of nourishment. When you make your own bread, you eliminate preservatives and unnecessary additives often found in mass-produced loaves.
Beyond the health benefits, there is a profound sense of accomplishment in pulling a loaf you created from the oven. It invites you to slow down, even if just for an hour, and focus on the simple tactile pleasure of creating something with your own two hands. Once you master this bag method, you might find yourself experimenting with additions like dried herbs, shredded cheese, or even seeds to create custom loaves that suit your personal taste preferences.
Conclusion
Baking bread at home does not have to be an intimidating chore filled with complex techniques and mountains of flour. With the “Bread in a Bag” method, you have an accessible, clean, and incredibly efficient way to bring the warmth of a bakery into your home whenever the craving strikes. By mastering these simple steps, you are not just saving money or time, you are starting a tradition of fresh, wholesome eating that you can share with your family and friends. So, clear a little space, grab a bag, and start your journey to becoming a home baker today. Your future self, and your taste buds, will thank you.
Would you like me to create a printable PDF version of this recipe card to keep in your kitchen?