Kitchen Math Conversion Chart How to Measure Ingredients
Have you ever spent hours carefully following a recipe only to pull a dense, heavy cake or a flat, uninspiring loaf of bread out of the oven? You are not alone. For many home cooks and aspiring bakers, the kitchen can sometimes feel like a science laboratory where the smallest miscalculation leads to a culinary disaster. The secret to consistent, mouth-watering results does not always lie in expensive ingredients or professional equipment. It comes down to one fundamental skill: mastering kitchen math and understanding how to measure your ingredients with absolute precision.
Cooking is often described as an art, allowing for a pinch of this and a dash of that. Baking, however, is an exact science. When you mix flour, leavening agents, fats, and liquids, you are setting off a series of complex chemical reactions. If your ratios are off, the reaction fails. This comprehensive guide will walk you through the essential kitchen conversions, the critical differences between weight and volume, and the professional tips you need to elevate your everyday cooking and baking.
The Core of Kitchen Math: Volume Conversions
Volume measuring is the standard in most American kitchens. Recipes are passed down on index cards calling for cups, tablespoons, and teaspoons. However, understanding how these measurements interact is crucial for scaling recipes up for a crowd or cutting them down for a dinner for two.
Liquid Basics: Fluid Ounces and Beyond
Liquid ingredients like water, milk, oil, and broth should always be measured in a liquid measuring cup. These cups typically have a spout for pouring and extra space at the top so you do not spill the liquid while moving it to your mixing bowl. Here is the foundational math you need to memorize for liquid volume:
- 1 Tablespoon (tbsp) equals 3 Teaspoons (tsp).
- 1 Fluid Ounce (fl oz) equals 2 Tablespoons.
- 1 Cup equals 8 Fluid Ounces.
- 1 Pint equals 2 Cups (or 16 Fluid Ounces).
- 1 Quart equals 2 Pints (or 32 Fluid Ounces).
- 1 Gallon equals 4 Quarts (or 128 Fluid Ounces).
Memorizing these liquid basics will save you from frantically searching the internet with messy hands when you need to double a soup recipe or halve a marinade.
Dry Essentials: The Anatomy of a Cup
Dry measuring cups are designed to be filled to the brim and leveled off. They are essential for ingredients like flour, sugar, oats, and cocoa powder. Knowing the breakdown of a single cup into smaller units is incredibly helpful when you are adjusting batch sizes.
- 1 Cup contains exactly 16 Tablespoons.
- 1/2 Cup contains 8 Tablespoons.
- 1/3 Cup is a bit tricky, containing 5 Tablespoons plus 1 Teaspoon.
- 1/4 Cup contains 4 Tablespoons.
By keeping these dry conversions in mind, you can easily figure out how to measure a quarter of a cup if your actual quarter-cup measure is currently sitting dirty in the dishwasher. You just grab your tablespoon and measure out four scoops.
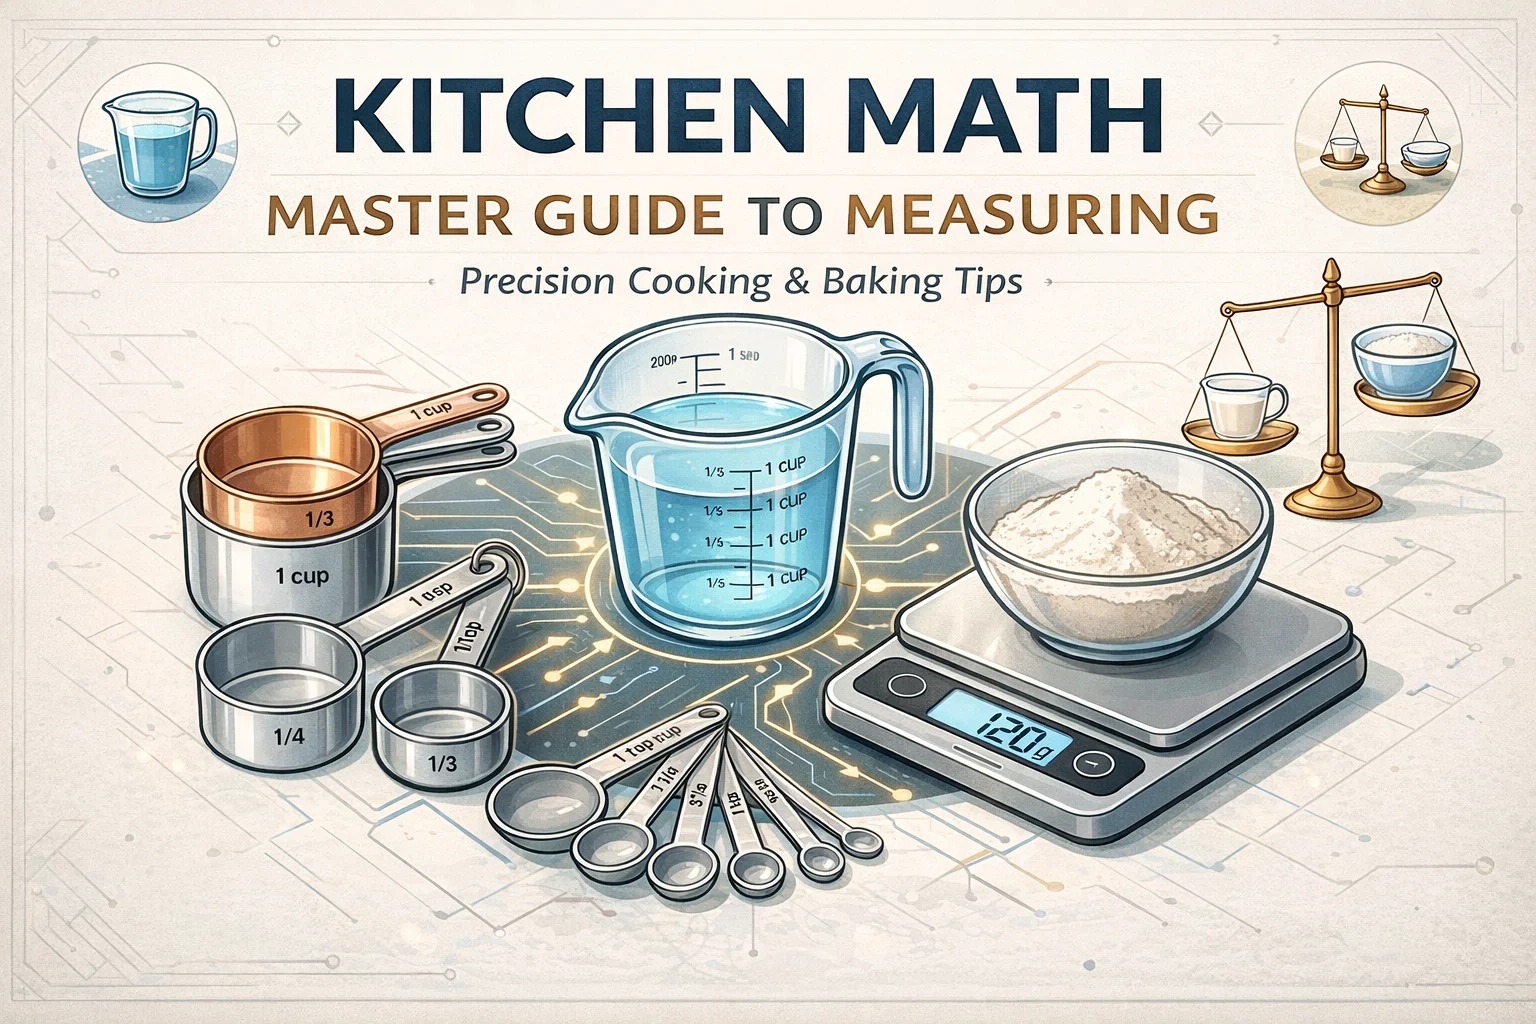
The Game Changer: Weight Versus Volume
If there is one section of this guide that will completely transform your baking, it is this one. Moving from volume measurements (cups) to weight measurements (grams or ounces) is the single biggest upgrade a home baker can make.
The Problem with Measuring Cups
Volume measures the amount of space an ingredient takes up. Weight measures how heavy that ingredient is. The problem with using measuring cups for dry ingredients, particularly flour, is compaction. Flour can settle tightly in a bag or container. If you dip your measuring cup directly into the bag, you are packing the flour down. One person’s cup of scooped flour might weigh 150 grams, while another person’s carefully spooned cup might weigh 120 grams. That 30-gram difference is enough to turn a light, fluffy cake into a dense brick.
The Solution: A Kitchen Scale
A digital kitchen scale eliminates all the guesswork. When a recipe calls for 120 grams of all-purpose flour, you will get exactly the same amount of flour every single time, regardless of how packed the ingredient is.
Let us look at a standard comparison. A standard volume cup of water weighs approximately 236 grams (or 8.3 ounces). A standard volume cup of all-purpose flour should weigh about 120 grams (or 4.25 ounces). As you can see, a cup of water and a cup of flour have vastly different weights. This is why weighing your ingredients, especially in baking, is the ultimate insider tip for accuracy and consistent success.
Pro Tips and Common Pitfalls
Even if you are using the correct tools, technique matters. Small habits in the kitchen can add up to major differences in your final dish. Here is a breakdown of the essential dos and don’ts of measuring.
The “DOs” for Kitchen Success
- Spoon and Level Flour: If you do not have a scale, you must use the spoon and level method. Fluff the flour in your container, gently spoon it into your dry measuring cup until it mounds over the top, and then use the flat edge of a knife to sweep off the excess.
- Use the Right Cup: Always use a spouted liquid measuring cup for wet ingredients and flat-topped nested cups for dry ingredients. Using a dry cup for water means you will likely spill it, and using a liquid cup for flour makes it impossible to level off accurately.
- Read Liquids at Eye Level: When measuring liquids, set the cup on a flat, level surface on your counter. Bend down so your eyes are exactly even with the measurement line. The liquid will form a slight curve called a meniscus. You want the bottom of that curve to rest perfectly on your target line.
- Zero Your Scale (Tare): Always place your empty bowl on the scale and hit the “tare” or “zero” button before adding your ingredient. This ensures you are only weighing the food, not the heavy glass or ceramic bowl holding it.
The “DON’Ts” That Ruin Recipes
- Do Not Scoop from the Bag: Never plunge your measuring cup directly into a bag of flour or powdered sugar. This packs the ingredient tightly, resulting in up to 25 percent more bulk than the recipe intended.
- Do Not Shake or Pack Down: Unless a recipe specifically calls for “packed” brown sugar, never tap the measuring cup on the counter or press the ingredients down. Let dry ingredients sit loosely in the cup before leveling.
- Do Not Measure Over the Mixing Bowl: If you are pouring a teaspoon of vanilla extract or salt, hold the measuring spoon over the counter or a separate small bowl. If your hand slips while measuring directly over your main mixing bowl, your entire batch of dough could be ruined by an accidental avalanche of salt.
- Do Not Confuse Fluid Ounces with Net Weight Ounces: Fluid ounces measure volume (space), while net weight ounces measure mass (heaviness). Eight fluid ounces of water happens to weigh about eight dry ounces, but this rule does not apply to most other ingredients. Eight fluid ounces of honey, for example, weighs significantly more than eight dry ounces because honey is much denser than water.
Fascinating Kitchen Math Fun Facts
Kitchen math does not have to be a chore. Sometimes, it is just fun trivia that helps you understand the culinary world a little better. Here are a few fascinating facts to keep in your back pocket for your next dinner party.
Math in Action: The Butter Breakdown
Butter is one of the most common ingredients in baking, and American packaging actually makes the math incredibly simple. One standard stick of butter is equal to exactly 1/2 cup. This also equals 8 tablespoons, 4 ounces by weight, or 113 grams. Memorizing this single line of conversions will speed up your baking prep immensely.
A Pint is a Pound
There is an old culinary rhyme: “A pint’s a pound the world around.” This refers to the fact that 16 fluid ounces of water (which is exactly one pint) weighs exactly 16 ounces by weight (which is exactly one pound). While this is a handy trick for water and liquids with a similar density like milk or broth, remember that it does not apply to heavy liquids like syrup or light dry goods like flour.
The Elusive “Pinch”
Vintage recipes and modern chefs alike love to call for a “pinch” of salt or a “dash” of cinnamon. But what does that actually mean in mathematical terms? Culinary experts generally agree that a standard “pinch” is considered to be 1/16 of a teaspoon. It is roughly the amount you can comfortably pick up between your thumb and your index finger.
The Gallon Challenge
Did you know that there are exactly 768 teaspoons in a single gallon? While you will probably never need to measure out a gallon of milk one teaspoon at a time, it puts into perspective just how much volume is contained in those larger jugs.
Conclusion
Mastering kitchen conversions and understanding the fundamental rules of measuring is the bridge between being an okay cook and a truly confident, consistent home chef. By making simple changes like switching to a digital kitchen scale, using the correct measuring cups for wet versus dry ingredients, and practicing the spoon-and-level method, you will immediately see better results in your baked goods and family meals. Kitchen math is not about restricting your creativity. It is about giving you the reliable foundation you need to experiment, innovate, and create delicious food with absolute confidence. Grab your measuring spoons, zero out your scale, and get ready to tackle your next recipe with precision.