DIY Manicure at Home Guide Step-by-Step Nail Care Popular Nail Shapes Checklist
Achieving a salon quality manicure from the comfort of your own home has never been more accessible or rewarding. There is something deeply therapeutic about taking a quiet hour for yourself, setting up a cozy workspace, and transforming your nails into a polished work of art. Whether you are a busy professional looking to save time or a creative soul who loves experimenting with new aesthetics, mastering the DIY manicure is a game changer for your self care routine. This guide walks you through every essential step to ensure your hands look elegant and feel pampered.
The Foundations of a Perfect Home Manicure
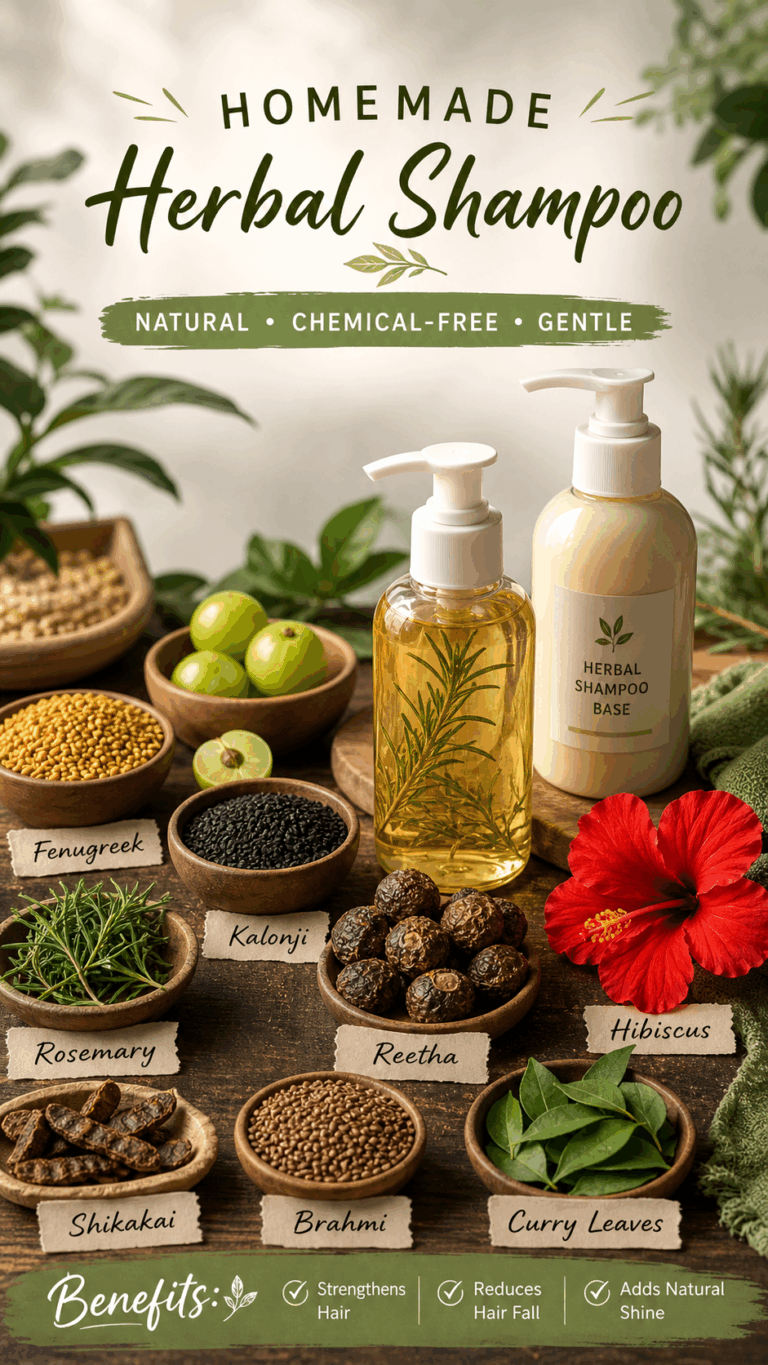
Before you even reach for a bottle of polish, the secret to a long lasting manicure lies in the preparation. Many people make the mistake of rushing straight to the color, but the canvas must be clean and smooth for the best results. Start by gathering all your tools in a well lit area. You will need non acetone remover, cotton pads, a bowl of warm water, a high quality nail file, a cuticle pusher, and your favorite base and top coats. Creating a relaxing environment with a cup of tea or some soft music can turn this task into a true spa experience.
Step 1: Clearing the Canvas
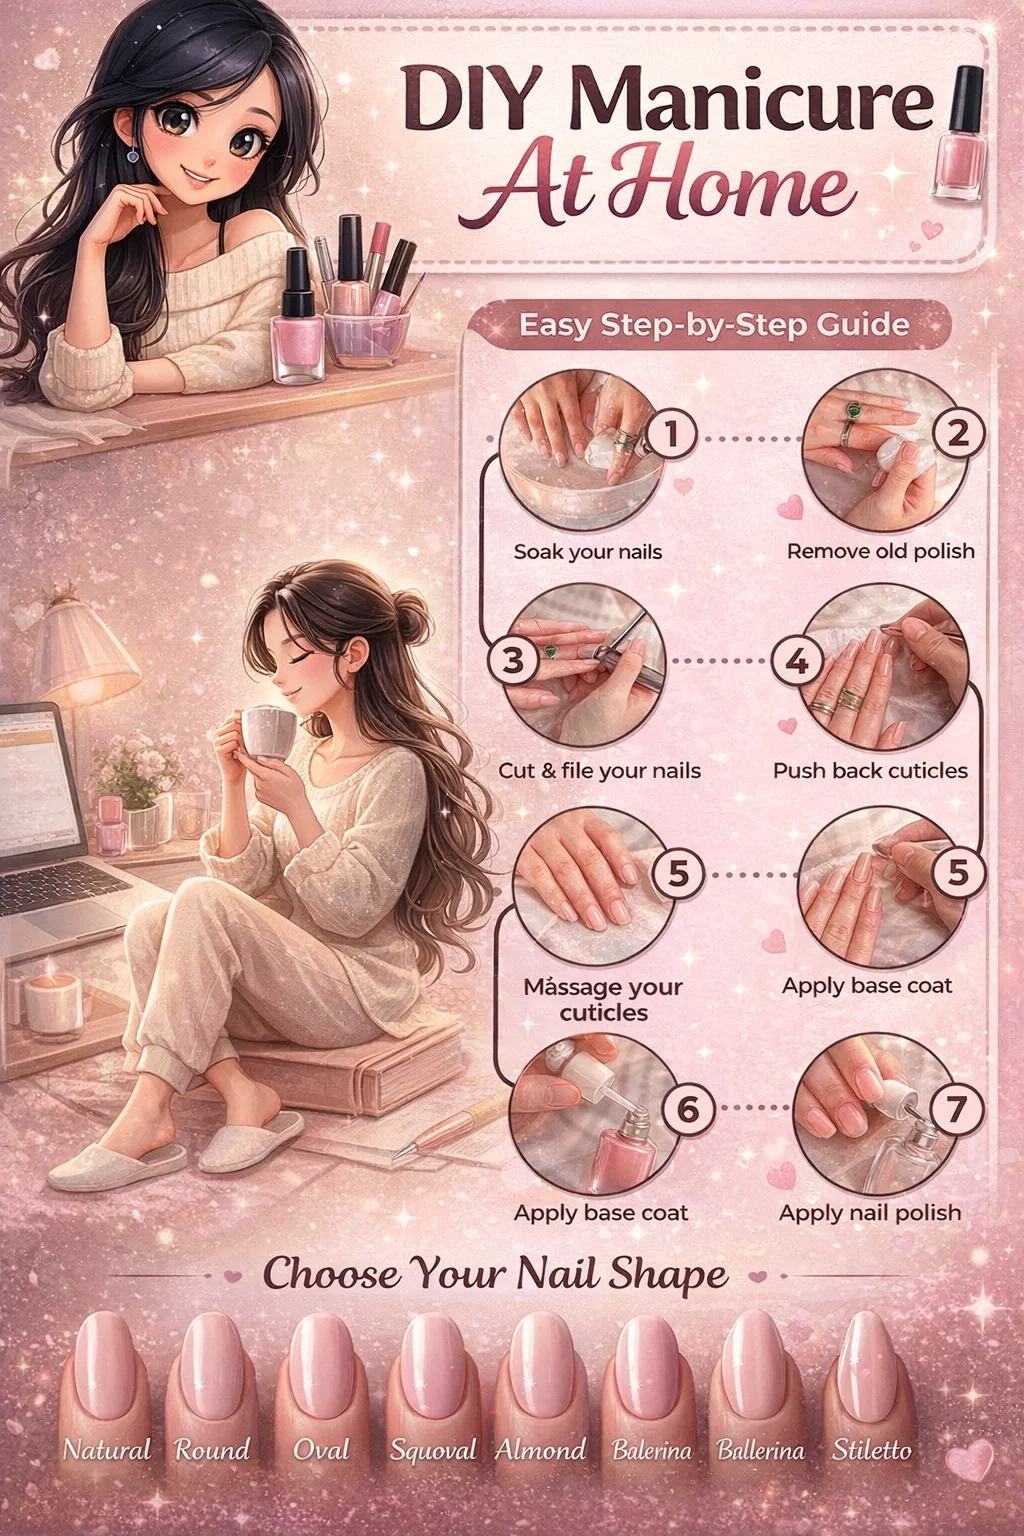
The first step in any professional routine is removing any old polish. Even if your nails look bare, they often have natural oils or residue from hand creams that can prevent new polish from adhering properly. Use a gentle, moisturizing nail polish remover to wipe each nail thoroughly. This ensures you are starting with a completely clean surface, which is the first secret to preventing early chipping.
Step 2: The Soaking Ritual
Once your nails are clean, it is time to soften the skin. Soaking your hands in warm water for three to five minutes is not just relaxing, it is functional. This process softens the cuticles and the skin around the nail bed, making it much easier to manage without causing irritation. You can add a drop of essential oil or a bit of mild soap to the water to enhance the softening effect and add a touch of luxury to the process.
Shaping and Refining Your Nails
The shape of your nails can completely change the look of your hands. From classic shapes that offer a natural appearance to bold, modern styles that make a statement, choosing the right silhouette is a personal choice that reflects your style. After soaking, your nails will be more pliable and ready for shaping.
Choosing Your Signature Style
Understanding the different nail shapes is crucial for a professional finish. Here are some of the most popular options you can achieve at home:
- Natural: Follows the existing curve of your fingertip for a low maintenance look.
- Oval: An elegant, elongated shape that makes the fingers appear slimmer.
- Almond: Tapered sides that meet at a rounded point, perfect for a sophisticated aesthetic.
- Square: Straight across the top with sharp corners, offering a modern and clean look.
- Squoval: The best of both worlds, featuring a square shape with softened, rounded edges.
- Stiletto: Very pointed and bold, ideal for those who want their nails to be the center of attention.
- Ballerina: Also known as coffin nails, these are long and tapered with a flat top.
Step 3 and 4: Cutting and Pushing
If your nails have grown too long, use sharp nail clippers to trim them down to your desired length before filing. Once the length is established, use a cuticle pusher to gently move the skin back from the nail plate. It is important to be very gentle during this step. You want to create a clean, open space for the polish without damaging the living tissue of the cuticle. Never cut your cuticles, as they act as a natural barrier against bacteria.
The Art of Filing and Massaging
Filing is where the magic happens. It is the step that defines the symmetry and smoothness of your manicure. Many people use a back and forth sawing motion, but professionals recommend filing in one direction to prevent the nail from peeling or splitting. This keeps the nail fibers intact and strong.
Step 5 and 6: Smoothing the Edges
Move the file from the corner of the nail toward the center, repeating on both sides until you achieve your chosen shape. Once the shape is perfect, take a moment to massage your cuticles with a nourishing oil or a rich hand cream. This hydrates the skin after the soaking and filing process, giving your hands that healthy, glowing look that characterizes a high end salon treatment.
Applying Polish Like a Professional
Now comes the part where your personality really shines through. Applying polish requires a steady hand and a bit of patience. The goal is to apply thin, even layers rather than one thick coat, which often leads to bubbles and slow drying times.
Step 7: The Essential Base Coat
Never skip the base coat. This clear layer serves two vital purposes. First, it protects your natural nail from staining, especially if you are using dark or vibrant colors. Second, it creates a slightly tacky surface that the colored polish can grab onto, which significantly extends the life of your manicure. Apply a thin layer and let it dry completely before moving on.
Step 8: Master the Three Stroke Method
When applying your color, try the three stroke method. Place a drop of polish in the center of the nail just above the cuticle, swipe down to the tip, and then perform one swipe on each side. This technique ensures full coverage with minimal streaks. Always wait at least two minutes between the first and second coat of color to ensure a smooth finish.
Maintenance and Longevity Tips
You have put in the work, so you want your manicure to last as long as possible. A DIY manicure can easily last five to seven days if you follow a few simple maintenance rules. Once your color is dry, finish with a high gloss top coat to seal everything in and add a professional shine. This layer acts as a shield against daily wear and tear.
Daily Care for Your Hands
Keep your hands hydrated by applying lotion regularly, but try to avoid getting too much oil directly on the nails if you have just painted them. When doing household chores like washing dishes or cleaning, wear gloves to protect the polish from harsh chemicals and excessive water exposure. Reapplying a thin layer of top coat every two or three days can also help refresh the shine and prevent the tips from wearing down.
Health from Within
Beautiful nails start with good health. Drinking plenty of water and maintaining a diet rich in biotin and vitamins will strengthen your nails from the inside out. Stronger nails provide a better foundation for polish and are less likely to break or peel, making your DIY sessions much more successful over time.
Conclusion: The Reward of Self Care
Mastering a DIY manicure at home is about more than just aesthetics. It is a dedicated time for mindfulness and self appreciation. By following these professional steps, from the initial soak to the final top coat, you can achieve results that rival any salon visit. Experimenting with different shapes like the almond or squoval allows you to express your unique style while keeping your hands looking groomed and elegant. With a little practice and the right tools, you will find that the perfect manicure is always within reach, right at your own desk. So, clear your schedule, pick your favorite shade, and enjoy the satisfying process of creating beauty with your own two hands.