Easy No-Bake Strawberry Trifle Recipe Creamy Layered Summer Dessert
There is something truly magical about a dessert that looks like it took hours of painstaking effort but actually comes together in under twenty minutes. When you first set eyes on a strawberry trifle, with its vibrant red berries peeking through snowy layers of cream and golden cubes of cake, it feels like an event in itself. This No-Bake Strawberry Trifle is the ultimate secret weapon for busy hosts, tired parents, or anyone who wants a spectacular finish to a meal without ever turning on the oven. It is a celebration of fresh fruit and creamy textures that feels light, refreshing, and incredibly indulgent all at once.
In the world of entertaining, the trifle is a timeless classic. Originating in England, it has evolved into countless variations across the globe. The beauty of this specific version lies in its simplicity. By using a pre-made pound cake and a quick whipped cream cheese base, you bypass the stress of baking and cooling layers. Instead, you focus on the assembly, which is where the real fun begins. Whether you are prepping for a summer barbecue, a holiday brunch, or just a Tuesday night craving, this recipe delivers a high-impact result with minimal fuss.
Why the No-Bake Strawberry Trifle is the Perfect Dessert
The appeal of a no-bake dessert is hard to overstate, especially when the weather starts to warm up. Standing over a hot stove or waiting for a cake to rise in a 350 degree oven is often the last thing you want to do. This trifle removes those barriers entirely. It relies on the quality of your fresh ingredients and the structural beauty of the layers. Because it needs to chill before serving, it is also a fantastic make-ahead option, giving you more time to spend with your guests rather than being stuck in the kitchen.
Beyond the convenience, the flavor profile is universally loved. You have the dense, buttery crumb of the pound cake which acts as a sponge for the strawberry juices. Then you have the cream cheese mixture, which adds a cheesecake-like richness and a hint of tanginess that prevents the dish from being overly sweet. Finally, the fresh strawberries provide a bright, acidic pop that cuts through the cream. It is a harmonious balance of textures and tastes that appeals to both children and adults alike.
Essential Ingredients for Success
To achieve the best results, start with the freshest strawberries you can find. Look for berries that are deep red all the way to the stem, as these will be the sweetest and most juicy. Since the fruit is a primary component, its quality will directly impact the final flavor. If strawberries are not in peak season, you can toss them with a tablespoon of sugar and let them sit for ten minutes to draw out their natural juices before layering.
The choice of cake also matters. While this recipe calls for pound cake because of its sturdy structure, you can experiment with angel food cake for a lighter version or even vanilla sponge. The key is to cut the cake into uniform cubes. This ensures that every spoonful has an equal distribution of cake and cream. For the creamy layer, using softened cream cheese is non-negotiable. If the cheese is too cold, you will end up with small lumps in your filling. Let it sit at room temperature for at least an hour before you start beating it with the powdered sugar.
Step by Step Guide to a Flawless Assembly
Creating a beautiful trifle is more about the process than the technique. You do not need to be a professional pastry chef to make this look like it belongs in a magazine. The first step is preparing your cream base. By beating the cream cheese with powdered sugar and vanilla, you create a stable, flavorful foundation. Folding in the whipped topping is what gives it that airy, cloud-like consistency. This mixture is much more stable than plain whipped cream, meaning your trifle will hold its shape even after a few hours in the fridge.
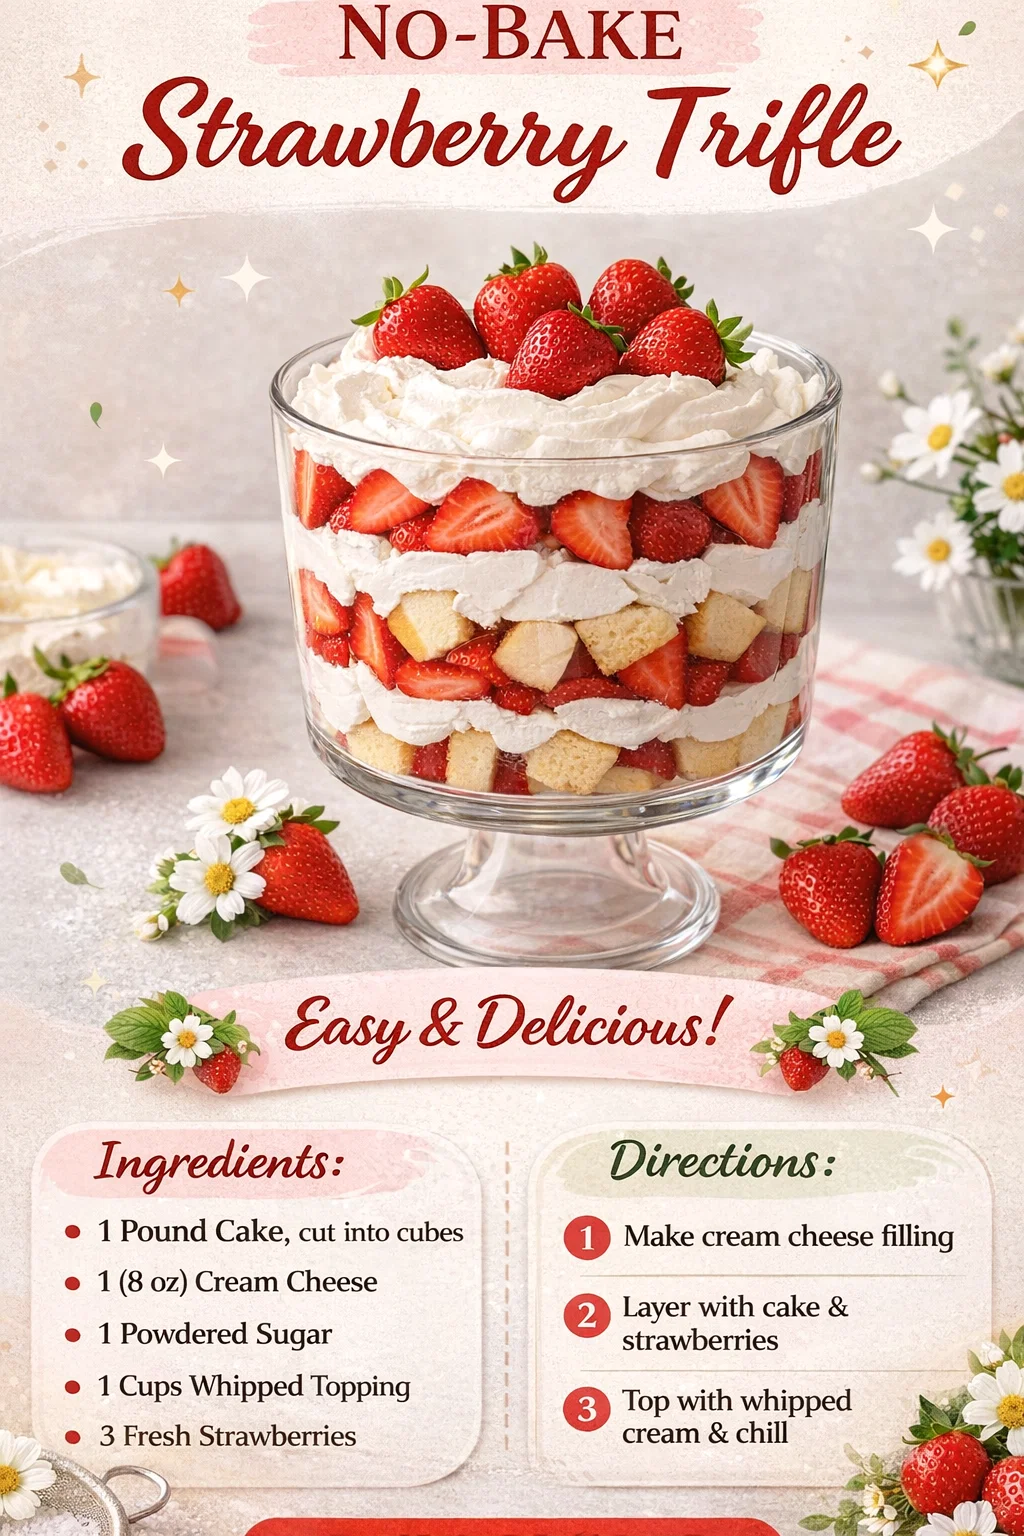
When it comes to layering, the goal is visibility. Use a clear glass trifle dish or a large glass bowl so that the layers are the star of the show. Start with a generous layer of cake cubes at the bottom. This provides a solid base. Follow this with a layer of the cream mixture, smoothing it out to the edges of the glass. Then, press the sliced strawberries against the side of the bowl. This is a classic styling trick that makes the dessert look incredibly professional. Repeat these steps until you reach the top of the dish, finishing with a final layer of whipped topping and a garnish of whole or halved berries.
Tips for Customizing Your Trifle
While the strawberry version is a classic, the trifle format is incredibly versatile. You can easily adapt this recipe to suit your preferences or what you have on hand in your pantry. For a bit of extra crunch, consider adding a layer of toasted almonds or crushed graham crackers between the cream and the fruit. If you want a more decadent chocolate version, you could use chocolate cake cubes and add mini chocolate chips to the cream cheese mixture.
For those who enjoy a bit of zest, adding lemon curd to the cream layer or some lemon zest to the berries can transform the flavor profile into a bright, citrusy delight. If you are serving this at an adult-only gathering, a light drizzle of grand marnier or a simple syrup infused with elderflower onto the cake cubes can elevate the dessert to a gourmet level. The possibilities are truly endless, making this a recipe you can return to time and again without ever getting bored.
How to Store and Serve Your Strawberry Trifle
One of the most important steps in this recipe is the chilling time. While it might be tempting to dive in immediately, letting the trifle sit in the refrigerator for at least one hour is crucial. This time allows the cake to slightly absorb the moisture from the cream and the strawberries, resulting in a cohesive dessert where the flavors are fully integrated. If you have the time, letting it chill for four to six hours is even better.
When it is time to serve, use a large long handled spoon to scoop deep into the dish. You want to make sure every serving includes a bit of every layer. If you are hosting a more formal event, you can even assemble these in individual mason jars or wine glasses for a personalized touch. This not only looks adorable but also makes serving and cleanup a breeze. Leftovers can be stored in the refrigerator for up to two days, though the cake will continue to soften the longer it sits.
Common Mistakes to Avoid
Even with a recipe this simple, there are a few pitfalls to watch out for. The most common issue is over-mixing the cream cheese filling once the whipped topping has been added. You want to fold the topping in gently using a spatula to maintain the airiness. If you beat it too vigorously, the mixture may become runny, and your layers will start to bleed into one each other rather than staying distinct.
Another mistake is using frozen strawberries. While they work in a pinch for smoothies or sauces, frozen berries release too much water as they thaw. This will turn your beautiful pound cake into a soggy mess and dilute the flavor of the cream. Always stick to fresh berries for a trifle. Lastly, make sure your pound cake is not too dry. If you are using a store bought cake that feels a bit firm, a very light brush of milk or simple syrup can help moisten it up before you begin the layering process.
Conclusion: The Ultimate Crowd Pleaser
The No-Bake Strawberry Trifle is proof that you do not need a long list of ingredients or hours of work to create a memorable dessert. It relies on the simple joy of fresh fruit, the comfort of buttery cake, and the luxury of sweet cream. It is a dish that brings people together, whether it is sitting at the center of a crowded picnic table or being enjoyed quietly on a porch during a summer evening. Its visual appeal makes it the star of any spread, and its delicious taste ensures that there won’t be a single spoonful left over.
Next time you find yourself needing a sweet treat that is both easy and elegant, remember this recipe. It is flexible, forgiving, and consistently delicious. By following these simple steps and focusing on quality ingredients, you can master the art of the no-bake dessert and impress your friends and family with ease. So grab your favorite glass bowl, a pint of berries, and get layering. Your new favorite summer tradition is just a few minutes away.