Best Classic New York Cheesecake Recipe Easy Homemade Strawberry Cheesecake Dessert
There is something truly magical about the moment a perfect cheesecake is brought to the table. It is the undisputed king of the dessert world, a crown jewel of pastry that manages to be simultaneously humble and incredibly sophisticated. When you look at a classic cheesecake topped with vibrant, glistening strawberries, you are looking at more than just a sweet treat. You are looking at a labor of love, a masterpiece of texture, and a tradition that has graced dinner tables for generations. Whether you are hosting a formal dinner party or simply want to treat your family to a weekend surprise, mastering the art of the cheesecake is a milestone for every home baker.
Making a cheesecake from scratch can feel intimidating to the uninitiated. We have all heard the horror stories of deep cracks running through the center or soggy crusts that ruin the experience. However, the truth is that cheesecake is actually quite forgiving once you understand the science behind it. It is not about complex techniques or expensive equipment; it is about patience, temperature control, and high quality ingredients. In this guide, we are going to break down every step of creating a creamy, dense, and velvety cheesecake that looks exactly like the one in your favorite bakery window.
The Foundation: Crafting the Perfect Graham Cracker Crust
Every great architectural feat needs a solid foundation, and for a classic cheesecake, that foundation is the crust. While some people experiment with chocolate cookies or shortbread, nothing beats the nostalgic, honeyed crunch of a traditional graham cracker crust. It provides the necessary structural integrity to hold up the heavy filling while offering a salty-sweet contrast to the tangy cream cheese.
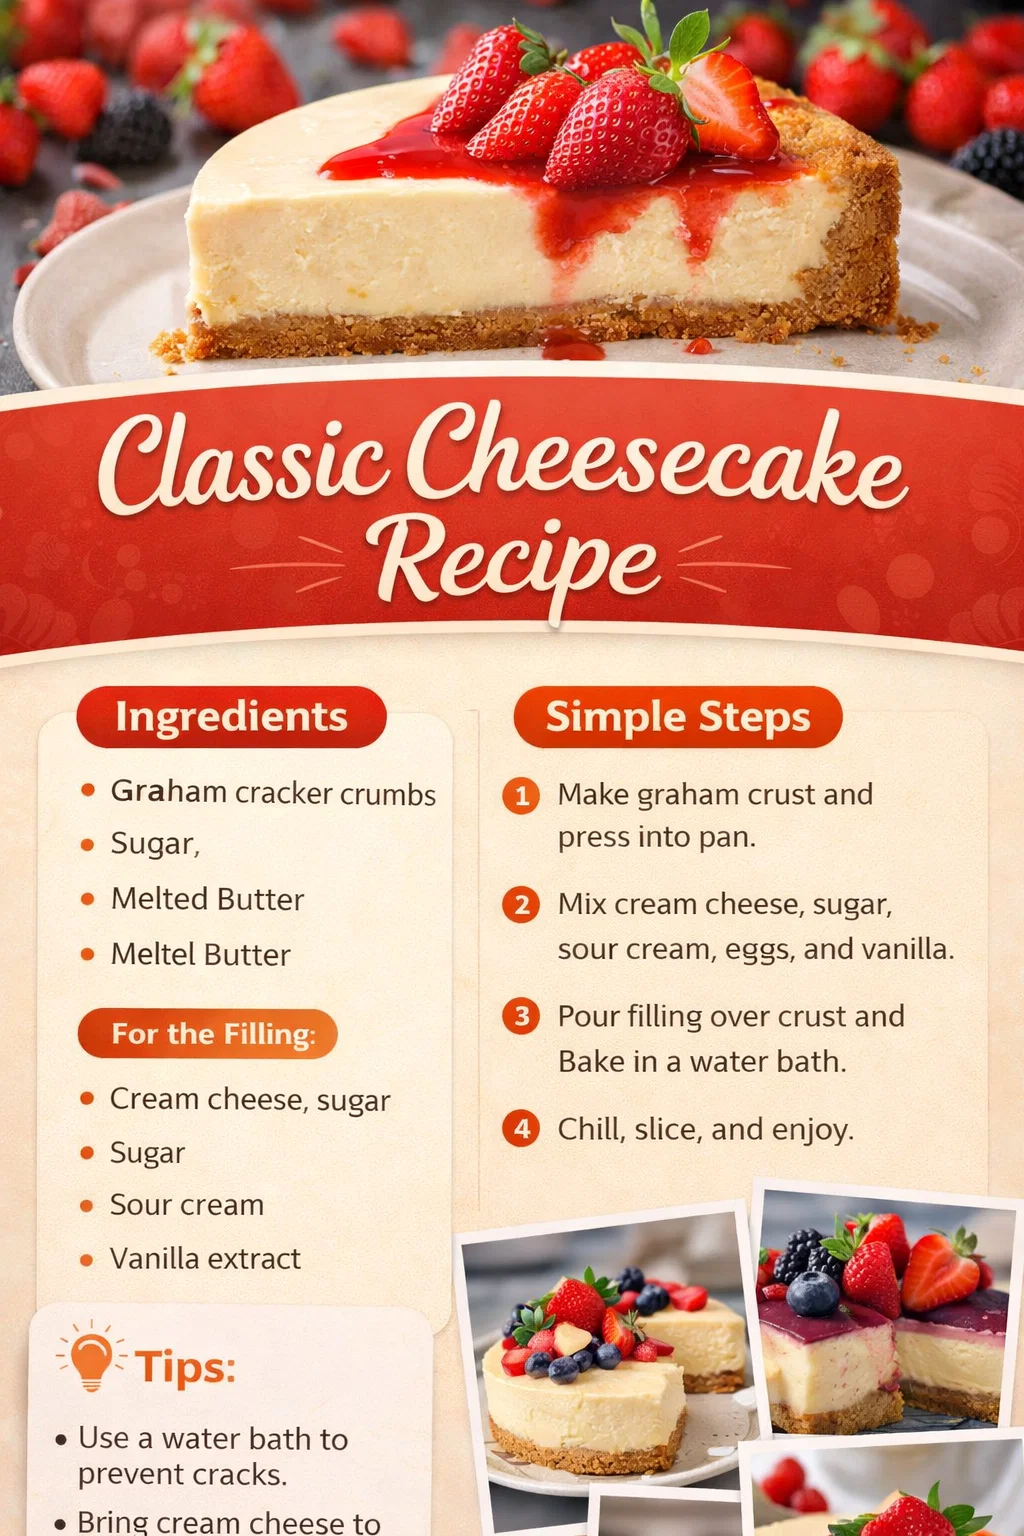
To achieve the perfect crust, you need to ensure your graham cracker crumbs are fine and uniform. If the pieces are too large, the crust will crumble when you try to slice the cake. Mixing these crumbs with just the right amount of sugar and melted butter creates a mixture that feels like wet sand. When you press this into your springform pan, do not be afraid to use a flat-bottomed measuring cup to really pack it down. A firmly packed crust is the secret to those clean, professional-looking slices.
Pre-Baking for Maximum Crunch
One of the most common mistakes in cheesecake making is skipping the pre-bake for the crust. By popping your crust into the oven for just ten minutes before adding the filling, you allow the sugar to caramelize and the butter to bind the crumbs together. This creates a moisture barrier that prevents the filling from making the crust soggy. The result is a crisp, golden base that snaps beautifully under your fork, providing a delightful textural counterpoint to the smooth cream above it.
The Heart of the Matter: Achieving a Velvety Filling
The filling is where the magic happens. A truly great cheesecake should be dense yet airy, rich but not cloying. The secret to this balance lies in the ingredients and how they are handled. You will notice that the most successful recipes call for full-fat cream cheese. This is not the place to skimp on calories. The fat content is what provides that signature mouthfeel and ensures the cake sets properly in the oven.
When you begin mixing your filling, the single most important rule is to ensure every ingredient is at room temperature. Cold cream cheese is the primary cause of lumps. If you try to whip cold cheese, it will remain in tiny beads no matter how long you mix it. By letting your cheese, eggs, and sour cream sit on the counter for a few hours before you start, you guarantee a batter that is as smooth as silk. This translates directly to the final texture of your baked cake.
The Role of Sour Cream and Vanilla
While cream cheese is the star, the supporting actors are just as vital. Adding sour cream to the mix introduces a subtle tanginess that cuts through the richness of the cheese. It also contributes to the moisture levels, ensuring the cake remains creamy even after it has fully set. Vanilla extract, on the other hand, provides that aromatic backbone. It enhances the sweetness of the sugar and makes the dairy flavors pop. Using a high quality pure vanilla extract, or even vanilla bean paste, will elevate your cheesecake from good to world class.
Mastering the Bake: Avoiding the Dreaded Cracks
Baking a cheesecake is less like baking a cake and more like preparing a custard. Because of the high egg and dairy content, cheesecake is very sensitive to heat. If the oven is too hot, the edges will overcook and puff up while the center remains raw. As it cools, the puffed edges will collapse, leading to those unsightly cracks that many bakers fear. The goal is a slow, even bake that allows the proteins to set gently.
This is where the water bath, or bain-marie, comes into play. By placing your springform pan inside a larger pan filled with hot water, you insulate the cake. The water stays at a constant boiling temperature, preventing the oven’s dry heat from shocking the cheesecake. It creates a humid environment that keeps the surface of the cake supple. To prevent leaks, be sure to wrap the bottom of your springform pan in several layers of heavy-duty aluminum foil. This small extra step is the difference between a soggy mess and a pristine dessert.
The Jiggle Test and the Cooling Process
Knowing when to take your cheesecake out of the oven is an art form. You do not want to bake it until it is solid all the way through. Instead, look for the jiggle. When you gently shake the pan, the edges should be set and slightly puffed, but the center should still wobble like gelatin. This residual heat will finish the cooking process as the cake cools.
The cooling process is just as critical as the baking itself. Never move a hot cheesecake directly to the refrigerator. Sudden temperature changes cause the cake to contract too quickly, which leads to cracking. Instead, turn off the oven and crack the door open, letting the cake sit inside for an hour. Then, move it to a wire rack to reach room temperature before finally chilling it in the fridge. This slow descent in temperature is the secret to a perfectly flat, unblemished surface.
The Finishing Touch: Fresh Strawberry Compote
A classic cheesecake is a canvas, and nothing paints a prettier picture than fresh strawberries. The bright red hue and the natural acidity of the fruit provide a refreshing contrast to the creamy white cake. While you can certainly use store-bought toppings, a homemade strawberry glaze or compote is incredibly easy to make and tastes significantly better. By simmering fresh berries with a touch of sugar and a squeeze of lemon juice, you create a vibrant sauce that heightens the entire dessert experience.
For the best visual impact, use a combination of cooked glaze and fresh, whole berries. Arrange the fresh strawberries artfully on top of the chilled cake and then drizzle the warm glaze over them. This creates a professional look that is reminiscent of high-end patisseries. The way the red sauce drips down the side of a clean white slice is enough to make anyone’s mouth water.
The Importance of the Chill: Patience is a Virtue
If there is one rule you must never break, it is this: do not cut the cheesecake too soon. A cheesecake needs at least six hours, and ideally a full night, in the refrigerator to develop its flavor and firm up its texture. During this time, the fats solidify and the flavors of the vanilla and cream cheese meld together. If you cut into it while it is still slightly warm, the texture will be mushy and the flavor will not be fully developed.
Chilling also makes the cake much easier to slice. For those perfect, clean edges you see in photos, use a sharp thin-bladed knife. Dip the knife in hot water and wipe it dry between every single cut. This prevents the filling from sticking to the blade and dragging through the cake, ensuring every guest receives a slice that looks as good as it tastes.
Creative Variations to Try
Once you have mastered the classic recipe, the possibilities are endless. You can swap the graham crackers for crushed Oreo cookies to make a cookies and cream version. You can swirl in melted chocolate, raspberry puree, or even salted caramel before baking. Some people love adding citrus zest to the filling for a brighter, summer-ready flavor. The classic cheesecake is a versatile base that invites experimentation, but there is a reason the traditional strawberry version remains the most popular choice worldwide.
Common Troubleshooting: What Went Wrong?
Even the most experienced bakers encounter issues from time to time. If your cheesecake does crack, do not panic! It will still taste delicious. You can easily hide any imperfections with an extra layer of fruit, whipped cream, or a thick chocolate ganache. If the cake feels too soft, it likely needed more time in the oven or more time to chill. If the crust is too hard to cut, you might have packed it too tightly or used too much butter. Every bake is a learning experience that brings you one step closer to perfection.
Another common issue is a lumpy filling. As mentioned before, this is almost always due to cold ingredients. If you find your batter is lumpy, you can try running it through a fine-mesh strainer before pouring it onto the crust. This will catch the bits of unmixed cheese and save the texture of your cake. Prevention is always better, so remember to plan ahead and get those ingredients out on the counter early.
Conclusion: Bringing the Bakery Home
There is a profound sense of satisfaction in slicing into a cheesecake you have made with your own hands. From the first crunch of the buttery crust to the last creamy bite of the filling, it is a sensory experience that defines the joy of baking. It represents a commitment to quality and a celebration of simple, beautiful ingredients. While it requires time and attention to detail, the results are undeniably worth the effort.
So, the next time you have a special occasion or simply a craving for something extraordinary, skip the store-bought options and head to your kitchen. Put on your favorite music, take your time with the process, and enjoy the journey of creating something truly classic. With these tips and a bit of patience, you will be serving up slices of heaven that will have everyone asking for your secret recipe. Happy baking!