DIY Upcycled Denim Mini Tote Bag Tutorial Easy Sewing Project for Beginners
Have you ever looked at a pair of old, worn-out jeans and felt a pang of guilt about throwing them away? You are not alone. Denim is one of the most durable and character-filled fabrics in existence, yet millions of tons of it end up in landfills every year. But what if those faded pockets and sturdy seams could be transformed into something fresh, functional, and undeniably stylish? Enter the world of upcycled denim mini totes. These compact bags are more than just a fashion statement; they represent a move toward sustainable living and the joy of creating something unique with your own two hands. In this guide, we are going into the heart of denim repurposing, showing you how to turn a relic of your wardrobe into a modern accessory that is perfect for errands, gifts, or a quick coffee run.
The Rising Trend of Sustainable DIY Fashion
In recent years, the fashion industry has seen a massive shift. People are moving away from the fast fashion cycle and embracing the slow fashion movement. This transition is fueled by a desire for individuality and a growing awareness of our environmental footprint. Upcycling is at the forefront of this change. By taking an existing garment and giving it a new purpose, you are essentially bypassing the manufacturing process that consumes vast amounts of water and energy. Denim is particularly well suited for this because it is a rugged twill weave that handles structural shapes beautifully. A mini tote made from repurposed jeans carries a history in its fibers, offering a rustic, lived-in aesthetic that brand-new store-bought bags simply cannot replicate.
Why Mini Totes are the Perfect Starter Project
If you are new to sewing, the prospect of making a full-sized garment or a complex backpack can be intimidating. This is why the mini tote is the ultimate entry point. Its geometric simplicity allows you to focus on the fundamentals of sewing without getting bogged down in complicated patterns or intricate hardware. You are essentially working with rectangles, which makes measuring and cutting a breeze. Furthermore, the small scale means you can finish the project in a single afternoon. There is nothing quite like the boost of confidence you get from starting a project at 2:00 PM and carrying your new bag out the door by dinner time.
Essential Tools for Your Denim Upcycling Journey
Before you sit down at your sewing machine, you need to gather your gear. Working with denim requires a bit more muscle than working with light cottons or silks. Because denim is thick, especially at the seams, having the right tools will prevent broken needles and frayed nerves.
- A Heavy Duty Sewing Machine: While most modern domestic machines can handle two layers of denim, you will want a machine with a strong motor if you plan on sewing through multiple layers like straps or felled seams.
- Denim Needles: Do not try to use a universal needle for this. You need a 90/14 or 100/16 denim needle. These are designed with a sharp, reinforced point to pierce through dense weaves without bending.
- Heavy Duty Thread: Look for polyester or cotton-wrapped polyester thread labeled as extra strong or topstitching thread. This ensures your bag can carry the weight of your phone, keys, and wallet without the seams popping.
- Fabric Shears and a Rotary Cutter: You will need sharp blades to get clean edges through thick fabric. A rotary cutter is especially helpful for getting perfectly straight lines on your bag body.
- Tailor’s Chalk or a Fabric Marker: Since denim is often dark or textured, a white chalk marker will help you see your cut lines clearly.
Step by Step: Crafting Your Mini Denim Tote
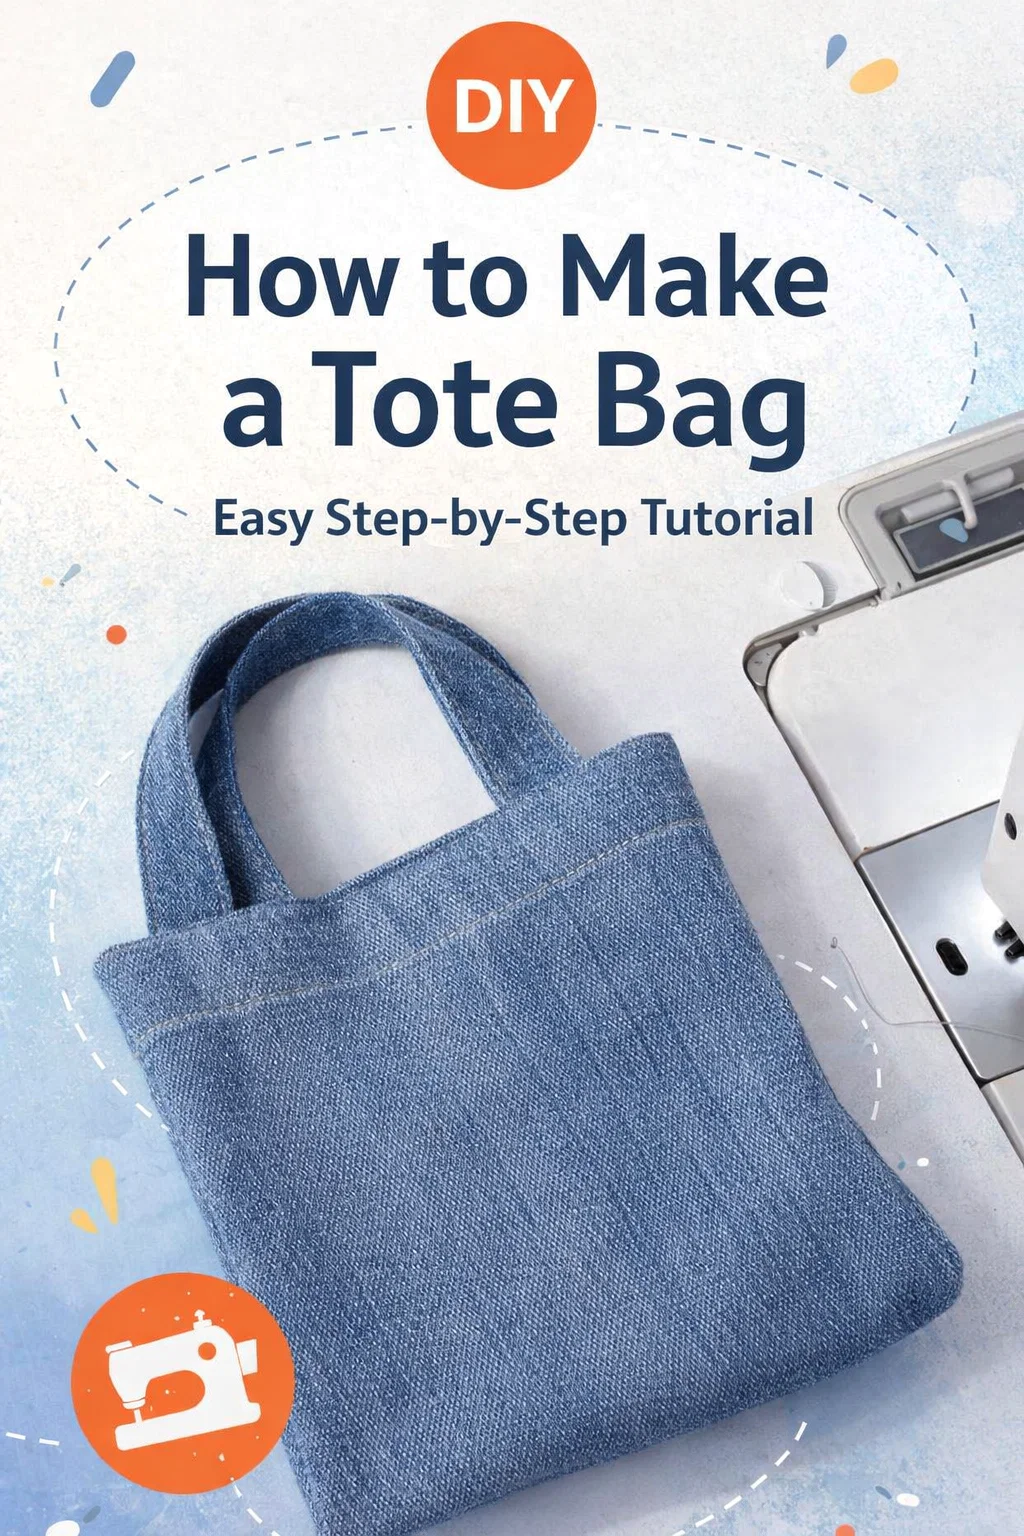
Now that your workspace is prepped, let us walk through the process of bringing your bag to life. The beauty of the bag shown in the image is its minimalist design, which highlights the texture of the denim itself.
Phase 1: Selecting and Preparing Your Denim
The first step is choosing your “donor” jeans. For a mini tote, you do not need much fabric. The legs of a pair of straight-cut or bootcut jeans are ideal because they provide large, flat panels of fabric. Before cutting, make sure your jeans are washed and dried. This ensures the fabric is preshrunk and clean. If your jeans have interesting distressing, fades, or even a cool pocket, try to incorporate those elements into your design. These “imperfections” are what give upcycled bags their charm.
Phase 2: Cutting the Pattern Pieces
For a standard mini tote, you will need to cut two large rectangles for the body and two long, narrow strips for the handles. A common size for a mini tote is roughly 10 inches wide by 12 inches tall. When cutting your handles, aim for strips about 14 inches long and 3 inches wide. This allows you to fold them over for strength and comfort. Always remember to add a half-inch seam allowance to all your measurements so your finished bag does not end up smaller than intended.
Phase 3: Assembling the Body
Place your two main body pieces together with the right sides facing each other. Pin along the sides and the bottom. Using a straight stitch, sew these three sides together. To prevent the edges from fraying inside the bag, you can use a zigzag stitch or a serger along the raw edges. Once the sides are secure, you can create a “boxed bottom” if you want the bag to stand up on its own. Simply pinch the bottom corners into a triangle shape, sew across the corner perpendicular to the side seam, and trim the excess. This gives the bag depth and a professional finish.
The Art of the Handle: Strength Meets Style
The handles are often the first thing to fail on a handmade bag, so it is important to get them right. For a denim tote, you want handles that feel sturdy in your hand. Take your long strips and fold the long edges toward the center, then fold the whole thing in half again. This hides the raw edges inside. Stitch down both long sides of the handle. Not only does this look professional, but it also reinforces the fabric so it does not stretch over time.
Attaching Handles for Maximum Durability
When attaching your handles to the bag body, do not just sew a single line. Use the “box and X” method. Position the ends of the handles about 2 inches down from the top edge of the bag. Sew a square around the base of the handle, then sew an X through the middle of that square. This distributes the tension across the fabric, ensuring that even if you fill your mini tote with heavy items, the straps will stay firmly in place.
Customizing Your Creation
The image shows a clean, classic denim look, but that is just the beginning. The real fun of DIY is personalization. Because denim is such a neutral base, it acts as a blank canvas for your creativity. You might consider adding a pop of color with a bright cotton lining inside. Not only does this make the bag look high-end, but it also makes it easier to find small items at the bottom of the bag.
Embellishments and Finishing Touches
If you want to take your bag to the next level, think about adding some flare. Iron-on patches are a quick way to add personality. If you have a bit more time, hand embroidery with sashiko-style stitching looks incredible against blue denim. You can also play with the texture by using the reverse side of the denim for the handles or the top hem, creating a subtle two-tone effect. Even the hardware choice can change the vibe; a single brass snap or a magnetic closure can turn a simple pouch into a secure handbag.
Maintaining Your Upcycled Masterpiece
One of the best things about denim is how well it wears. Over time, your mini tote will develop its own unique patina. If it gets dirty, most denim bags can be tossed right into the washing machine. Just be mindful of any delicate embellishments you may have added. To keep the shape crisp, you can give it a quick press with a hot iron while it is still slightly damp. This will flatten the seams and give the bag that “just finished” look all over again.
Why Handcrafted Items Beat Mass Production
There is a special kind of pride that comes from someone asking, “Where did you get that bag?” and being able to answer, “I made it.” Beyond the aesthetics, handcrafted items are built to last. When you sew your own bag, you control the quality of the thread, the strength of the stitches, and the integrity of the material. You are not just making a bag; you are building a tool that serves your daily life. In a world of disposable products, a sturdy denim tote is a refreshing change of pace.
The Community of Creators
When you start projects like this, you become part of a global community of makers. There are countless forums, social media groups, and local sewing circles dedicated to the art of upcycling. Sharing your progress, asking for advice on tricky seams, and seeing what others have created from their old wardrobe is incredibly inspiring. It turns a solitary hobby into a shared journey of creativity and resourcefulness.
Conclusion: Your Journey Starts Here
Making an upcycled denim mini tote is about more than just sewing fabric together. It is about seeing potential where others see waste. It is about slowing down, working with your hands, and creating something that is both beautiful and functional. Whether you are an experienced sewist or someone who has never touched a needle, this project is an invitation to experiment and express yourself. So, go ahead and grab that old pair of jeans from the back of your closet. With a little bit of time and a few simple tools, you can transform the past into a stylish part of your future. The world of DIY fashion is waiting for you, one stitch at a time. Happy sewing!
